R12.1-JA-2025June05
Create Chatbot in Full Editor
In the full editor, power users can create a chatbot with an advanced and complex troubleshooting flow using a combination of NI nodes, NIT nodes, ADT nodes, condition nodes, and prompt nodes. Follow the steps to create a bot in the full editor:

|
Note: A PA license is required so the network intent can be executed when end users use the chatbot. |
-
Choose either of the methods to create a chatbot:
-
Click the start menu
 , select Intent-Based Automation> Chatbot Manager, and click +Add Bot.
Note: Accessing the Chatbot Manager requires the Chatbot Management privilege enabled in the System Privilege.
These roles by default have the Chatbot Management privilege: Domain Admin, Power User, and Engineer. -
Click
 from the task bar and select New Bot.
-
Click the start menu
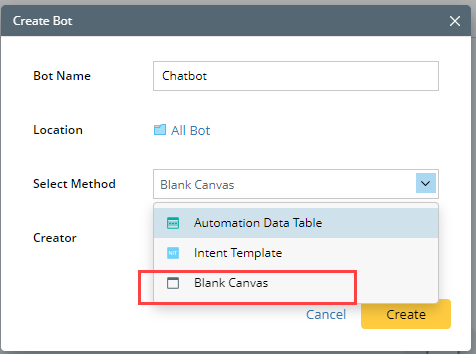
- In the Create Bot window, enter the Bot Name.
-
Select Blank Canvas as the method. Click Create.
-
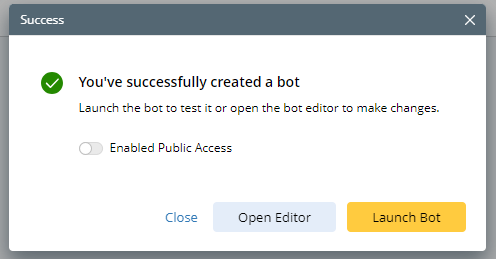
(If created from the task bar) In the Success window, click Open Editor to open the full editor.
-
Based on different use cases,
- Define the basic settings
- Build up the automation flow with the following nodes and customize their output:
-
Modify the settings based on your need:
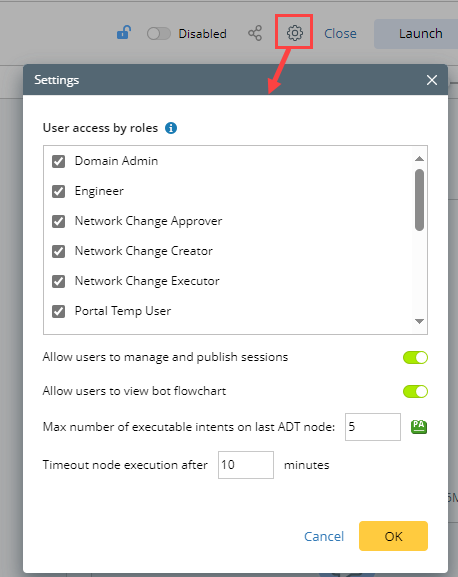
- Allow users to manage and publish sessions: Turn on this option to enable end users to publish sessions and share them with others.
- Allow users to view bot flowchart: Turn on this option to enable end users to see the flow chart when inputting show flowchart as a built-in command.
- Max number of executable intents on last ADT node: When an ADT node is the last node in the chatbot, it supports numerous (1-50) intents to execute. You can set the maximum allowed number of intents. The default number is 5.
-
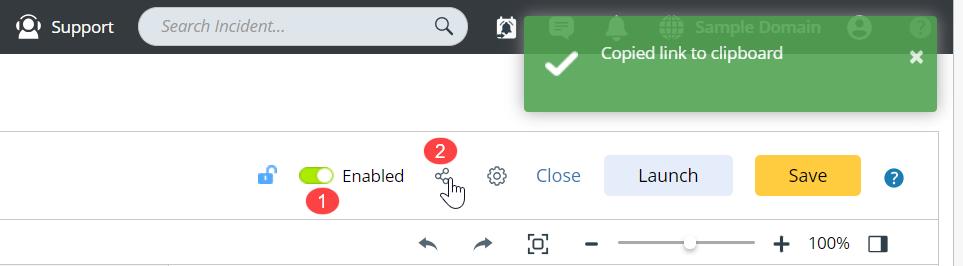
Enable and share the chatbot with end users.
See also: