Customizing View Options for Data Units

Contents
1.On a map, select Map > Map Settings from the map toolbar.
2.Customize the following settings based on your needs. See Map Settings for more explanations.
▪To adjust the display ratio for a data unit, click the cell to change the value.
▪To hide a data unit from the map, deselect the check box.
3.To apply this change as default to all your newly created maps, click Set as Default. Otherwise, this change will only be applied to the current map session.
Map Settings
The attributes of map settings are described as follows:
Area |
Content |
Explanation |
|---|---|---|
View Options for Data Unit |
Includes device hostname, interface name, device note and the following: ▪Device/Link Position — where device properties can be defined in data view templates. See Creating a Data View Template for details. ▪Overflow Position — shown as ▪Other Draw Shapes — the shapes drawn on a map. See map stencil for more details. |
|
Display Ratio |
Indicates the threshold of zoom controls for displaying a corresponding data unit on a map. |
|
Zoom Step |
Indicates the zoom controls changed by each zoom-in or zoom-out action. See Browsing Device Data on Map for more details. |
|
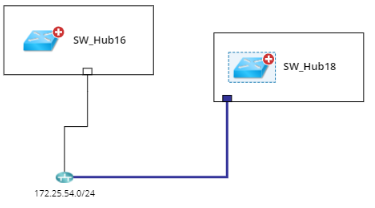
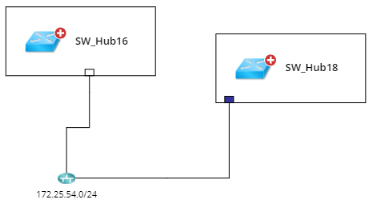
Hide media connected with two topology links only |
Hides the media connected with only two links. |
|
Auto Link Settings |
Default Auto Link: ▪IPv4 L3 Topology ▪IPv6 L3 Topology ▪L2 Topology ▪L3 VPN Tunnel ▪L2 Overlay Topology |
See Topology Type for details. |
Link Option Between Two Devices: ▪Exclude Management Interface |
Exclude management links from map while using the auto-link function. Note: This option has dependency with the execution of the built-in plugin Identify Management Interfaces through the basic system benchmark task. |
|
Device View on Expanded Style |
|
One device type that is suitable for Layer 2 topology. You can point to a port or click a link to view its detailed information. |
Interface Highlight Mode |
Highlight Link & Port |
Highlight both link and port. |
Only Highlight Link |
Highlight link. |
|
Only Highlight Port |
Highlight port. |