R12.1-JA-2025June05
Create Chatbot from ADT
Basic steps to create a chatbot from ADT in Bot Wizard:
- Configure Input:
- Specify automation table and actions.
- Select the column(s) and define their input prompt.
- Customize output: the automation result output message.
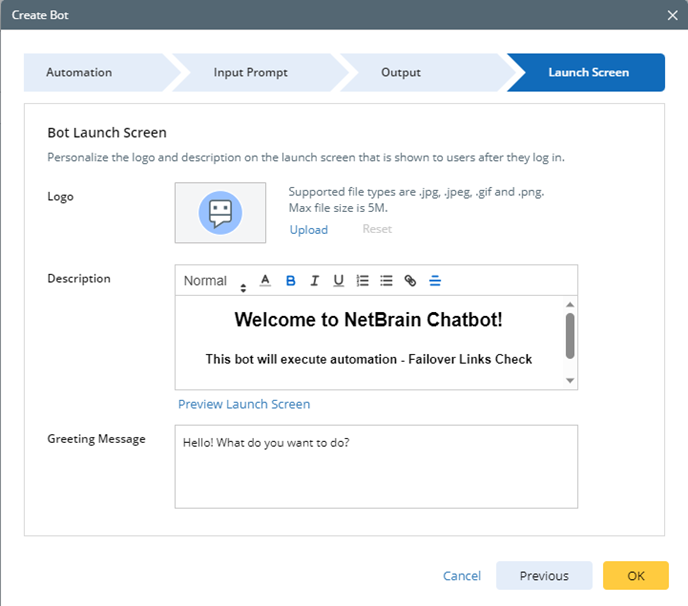
- Customize the launch screen.
Example: Create a chatbot for end users to execute a failover link automation check.
Prerequisites
Created an ADT Critical Failover Links that includes the Failover Link Name and Intent columns, which the chatbot will use to execute intent based on the end user’s input failover link name.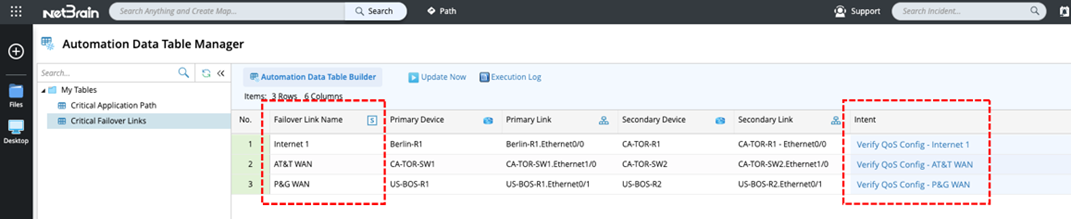
Main Steps
- Enter the bot name, select the location to store the chatbot, and modify the creator if needed.
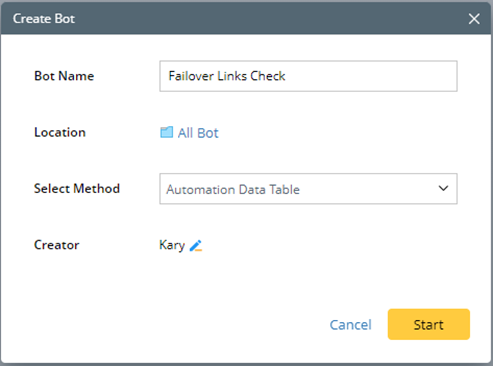
- Select an ADT. Select a Failover Links Check ADT in this example.
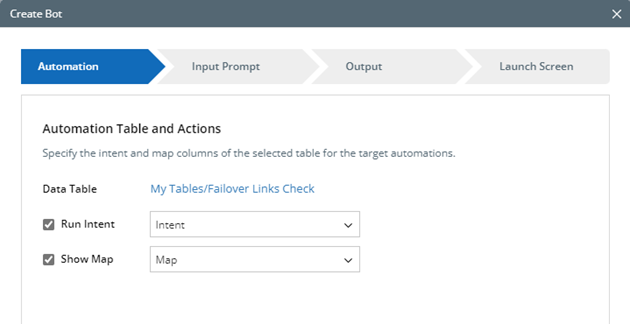
- Enable Run Intent and select the Intent column.
The target automations in the intent column will be matched and executed when end users provide their input.
Tip: All intent type columns in the selected ADT will be listed in the drop-down list. The first intent column will be selected automatically. - Enable Show Map and select the desired map column.
The map in the map column will be matched and delivered when end users provide their input.
Tip: All map type columns in the selected ADT will be listed in the drop-down list. The first map column will be selected automatically. - Click Next.
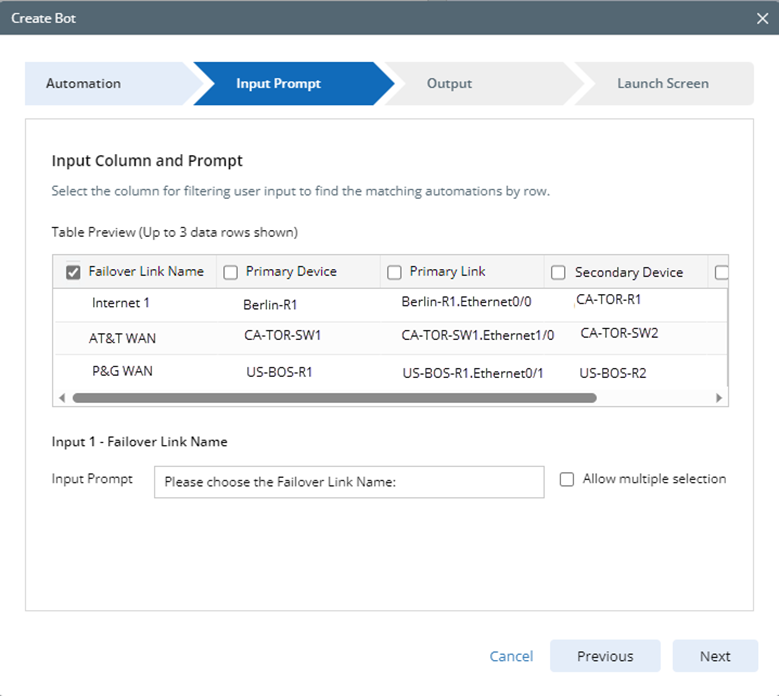
- Select the input column and define their input prompt.
In this example, you need the values in the Failover Link Name column to be the candidate values for end users to select from.
Tip: For more details on how end users' input will be matched with row(s) in the ADT, see Use Automation Data Table Node. - Select the Failover Link Name as the input column.
- The input prompt will be generated automatically: Please choose a Failover Link Name:. You can customize the input prompt if needed.
- Leave Allow multiple selection unchecked for end users to make a single selection.
- Define the output.
Tip: More details in Edit the Chatbot 
- Define the launch screen, including the logo, description and greeting message.
Post-tasks
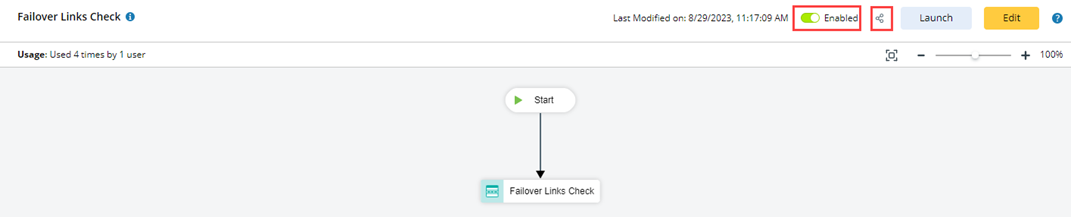
- Launch the chatbot and test it.
Tip: The chatbot creator can launch the chatbot without enabling the public access, so they can test if it works accordingly before sharing it with others. - Enable and share the chatbot with others.
- Edit the chatbot in the full editor when needed.
Tip: If you need to modify the chatbot configured in Bot Wizard, you need to navigate to the Chatbot Manager, and modify the chatbot in the full editor.