Create a Domain

Contents
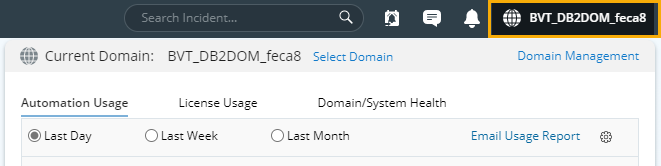
1.Click the domain name on the quick access toolbar. The pop-up dialog displays the current domain and tenant you are working on.
2.In the pop-up dialog, select the target tenant and click New Domain. The Create Domain Wizard is launched to guide you through the mandatory steps to create a domain.
3.Select the target tenant, enter the basic information for the new domain, and then click Next.
▪Domain Name — a unique name in the system, case-insensitive.
▪Maximum Nodes — the maximum number of network devices that the domain can host.
▪Description (optional) — a brief text to describe the domain.
4.Follow the wizard to complete the following steps.
1)Define shared access credentials and proxies for all non-interactive live access, and then click Next. See Configuring Network Settings for more details.
2)Discover your live network and build Layer 3 topology, and then click Next. See Discovering Network Devices for more details.
3)Define share policy (accesses and privileges) for domain users, and then click Finish. See Configuring Share Policy for more details.
See also:
▪Managing Domain Users and Roles
▪Authorizing Users to Create Domains