Adding a Topology Link

Contents
After a discovery or benchmark task is finished, all the auto-built topology links can be browsed in the Topology Link Manager. However, in some cases, the auto-built topology links may not be 100% accurate or complete in a complex network environment.
To improve the accuracy and scalability of a topology type, you can manually stitch the topology links based on the auto-built results. For example, you can add a topology link to connect an unnumbered IP interface that does not have a CDP or LLDP table with an existing interface or media.
Log into Domain Management page.
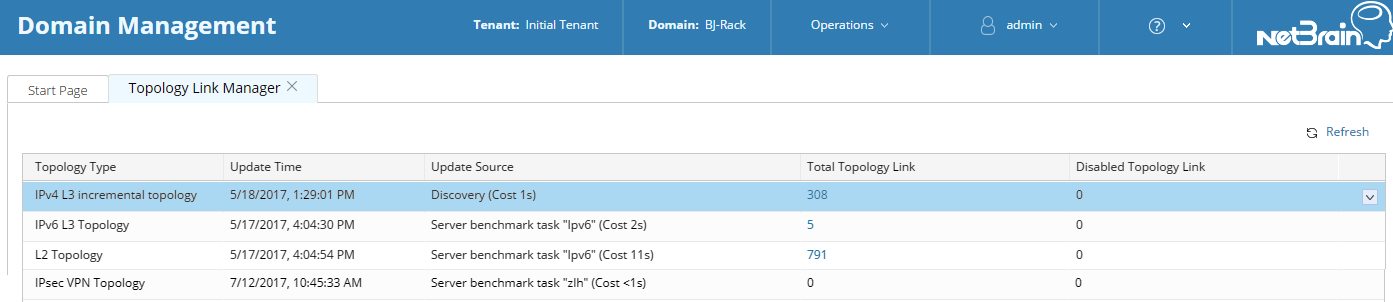
1.In the Domain Management page, click Operations > Topology Manager > Topology Link Manager from the quick access toolbar.
2.In the Topology Link Manager, select the topology type that you want to edit (for example, IPv4 L3 topology) and click the hyperlink in the Total Topology Link column.
3.All links in IPv4 L3 topology are listed in the following dialog. Click Add Topology Link.

4.Select the first and the second device, and their connected interfaces for the topology link. You can also select By Media from the Second Device list to select media as the second device. Media can be used to visualize point-to-multipoint connections among devices in a VLAN.
Tip: Only the interfaces contained the selected topology type are listed. The topology types that an interface supports can be parsed by its device driver or a Qapp.
Tip: If the target device or interface is not found under the Default Zone, navigate to other zones. Zone is used to separate devices or interfaces of duplicated IPs in IPv4 L3 topology.
5.Click Connect. If there is already a topology link between the two devices and interfaces, a dialog box will prompt to ask you whether to use the new link to replace the old one.
Note: The topology links in a manually created zone cannot be automatically updated by running benchmark tasks or Qapps.
See also:
▪Resolving Duplicated IP and Subnet