2023-Nov-03-R11.1a
Install NetBrain Ansible Agent and Register it to Front Server
Install NetBrain Ansible Agent
Install the NetBrain Ansible Agent before registering it to the Front Server. For more details, you can refer to NetBrain Ansible Agent Installation Guide.
Register NetBrain Ansible Agent to Front Server

|
Note: The following steps are optional and only apply to NetBrain Ansible deployment. |
- Log in to the Domain Management Page.
-
In the Domain Management page, click the start menu
 , scroll down and select Ansible Agent Manager.
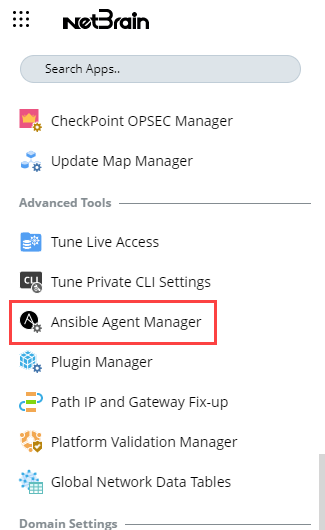
- On the Ansible Agent Manager tab, click Add.
-
Configure the following properties of the Ansible Agent.
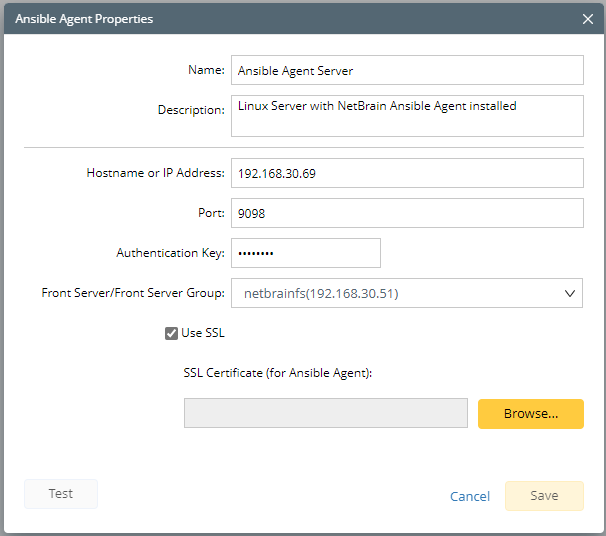
- Enter the basic information about the Ansible Agent.
- Name — a unique name to identify the Ansible Agent.
- Description — a short sentence to briefly describe the Ansible Agent.
- Hostname or IP address — the IP address or hostname of the Ansible Agent.
- Port — the port number that the Ansible Agent service listens to. By default, it is 9098.
- Enter the authentication key of the Ansible Agent created when you installed it. By default, it is Admin__1.
- Select a Front Server or Front Server Group from the drop-down list to connect with the Ansible Agent.
|
|
Tip: An Ansible Agent can be associated with multiple Front Servers or Front Server Groups. |
- (Optional) Select the Use SSL check box and click Browse to upload the SSL certificate file to validate to encrypted connections between the Ansible Agent and Front Server with SSL.
|
|
Tip: Select the Use SSL check box only if SSL is enabled on Ansible Agent during its installation. |
|
|
Note: SSL Certificate uploaded here is the same SSL Certificate used for Ansible Agent. |
- Click Test to verify whether the selected Front Server or Front Server Group can connect to the Ansible Agent with configured parameters.
- Click OK to save the settings.