View Auto Qualified Recommended Automation
After the target devices are properly defined, the Data View Template, Runbook Template, Network Intent and Network Intent Cluster will be qualified by the predefined target devices and displayed in Guidebook.
The display results vary with different types of recommended automations:
Data View Template
| # | Meaning | After Clicking |
| 1 | The qualified Data View Template associated with the target device(s) |
The preview dialog will pop up. You can click Apply to apply this Data View Template to the current map.
|
| 2 | The description defined by users when adding Runbook Template or Network Intent to Data View Template. | N/A |
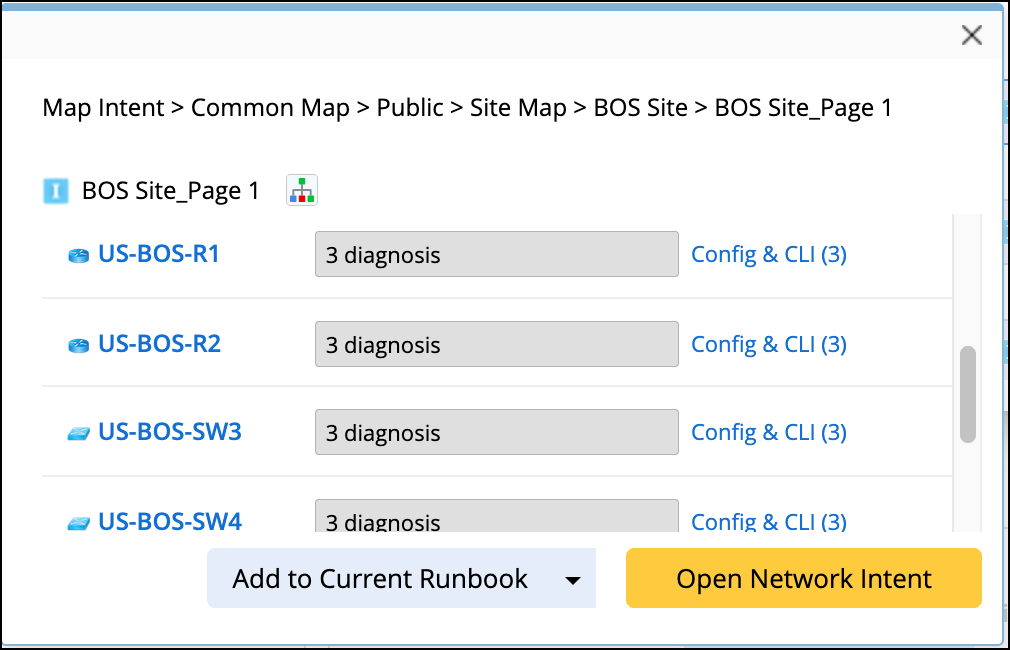
| 3 | The instance of the respective Runbook Template or Network Intent |
The preview dialog will pop up.
|


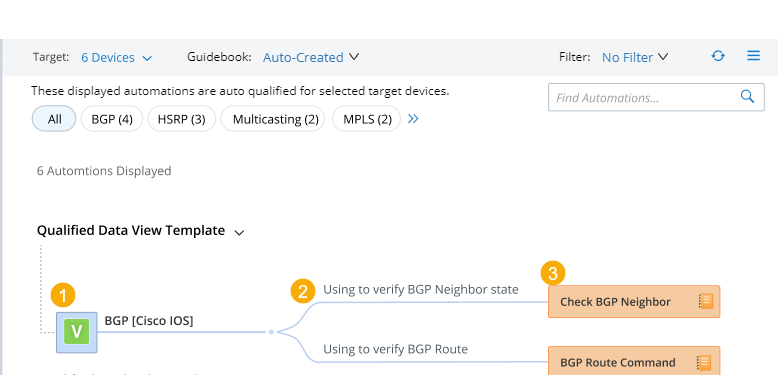
Runbook Template
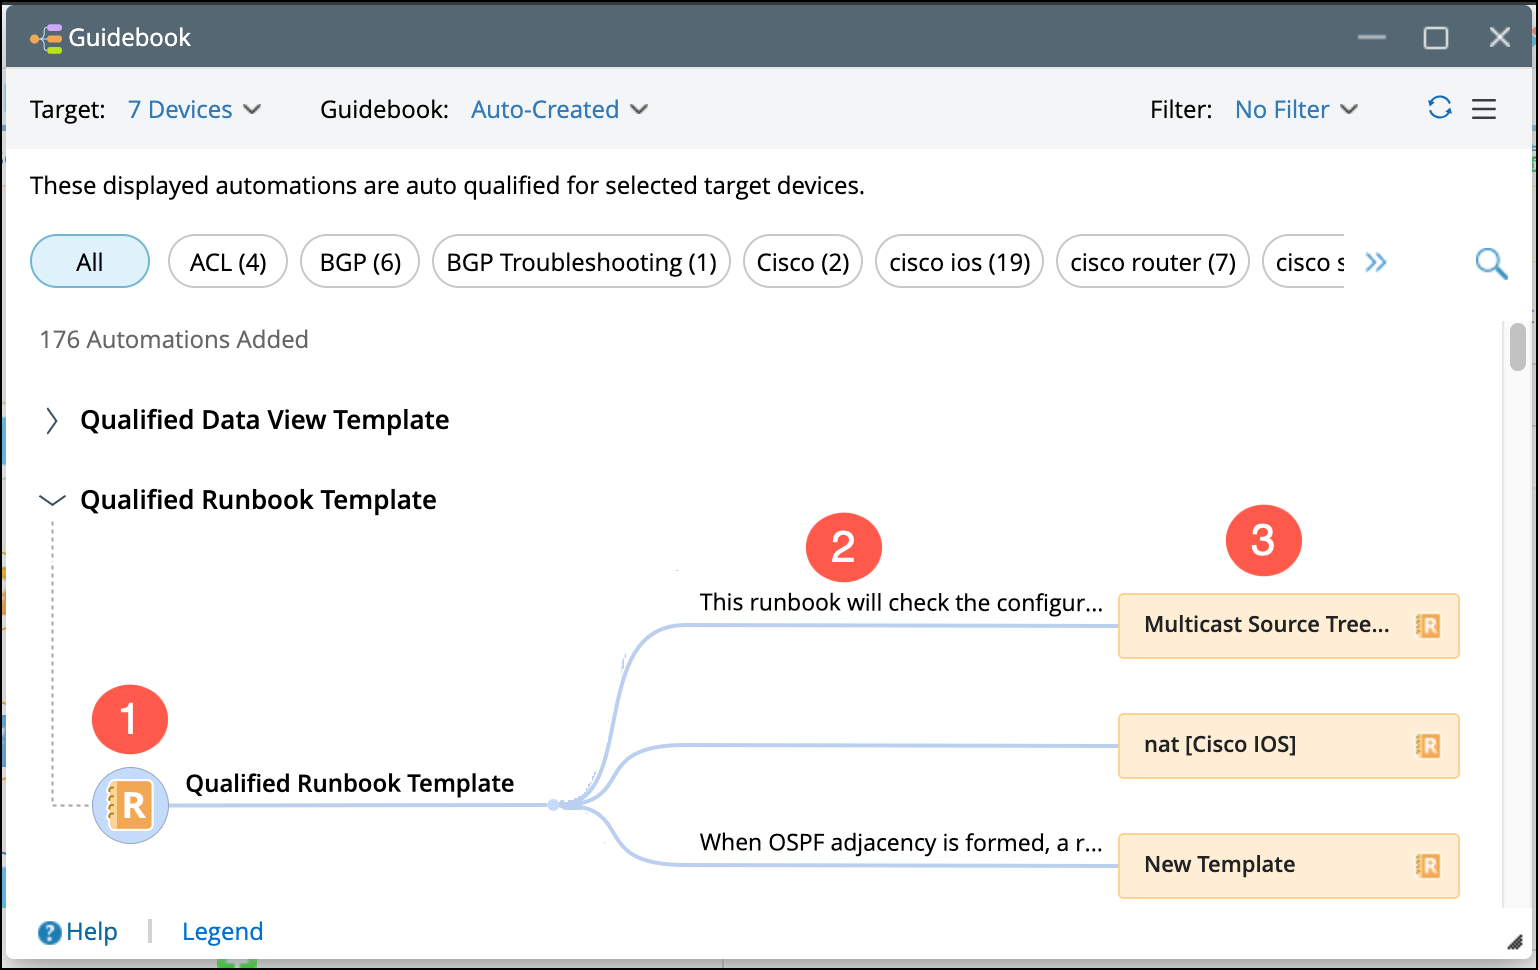
| # | Meaning | After Clicking |
| 1 | a dummy node representing all the Runbook Template(s) qualified by the target device(s) | N/A |
| 2 | the description of each specific Runbook Template | N/A |
| 3 | the instance of each specific Runbook Template |
The preview dialog will pop up. Click Add to Current Runbook or Add to New Runbook to add the available Runbook Node(s) into the current or new Runbook.
|
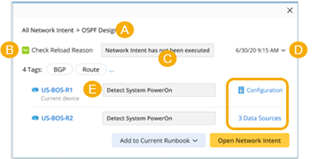
Network Intent and Network Intent Cluster
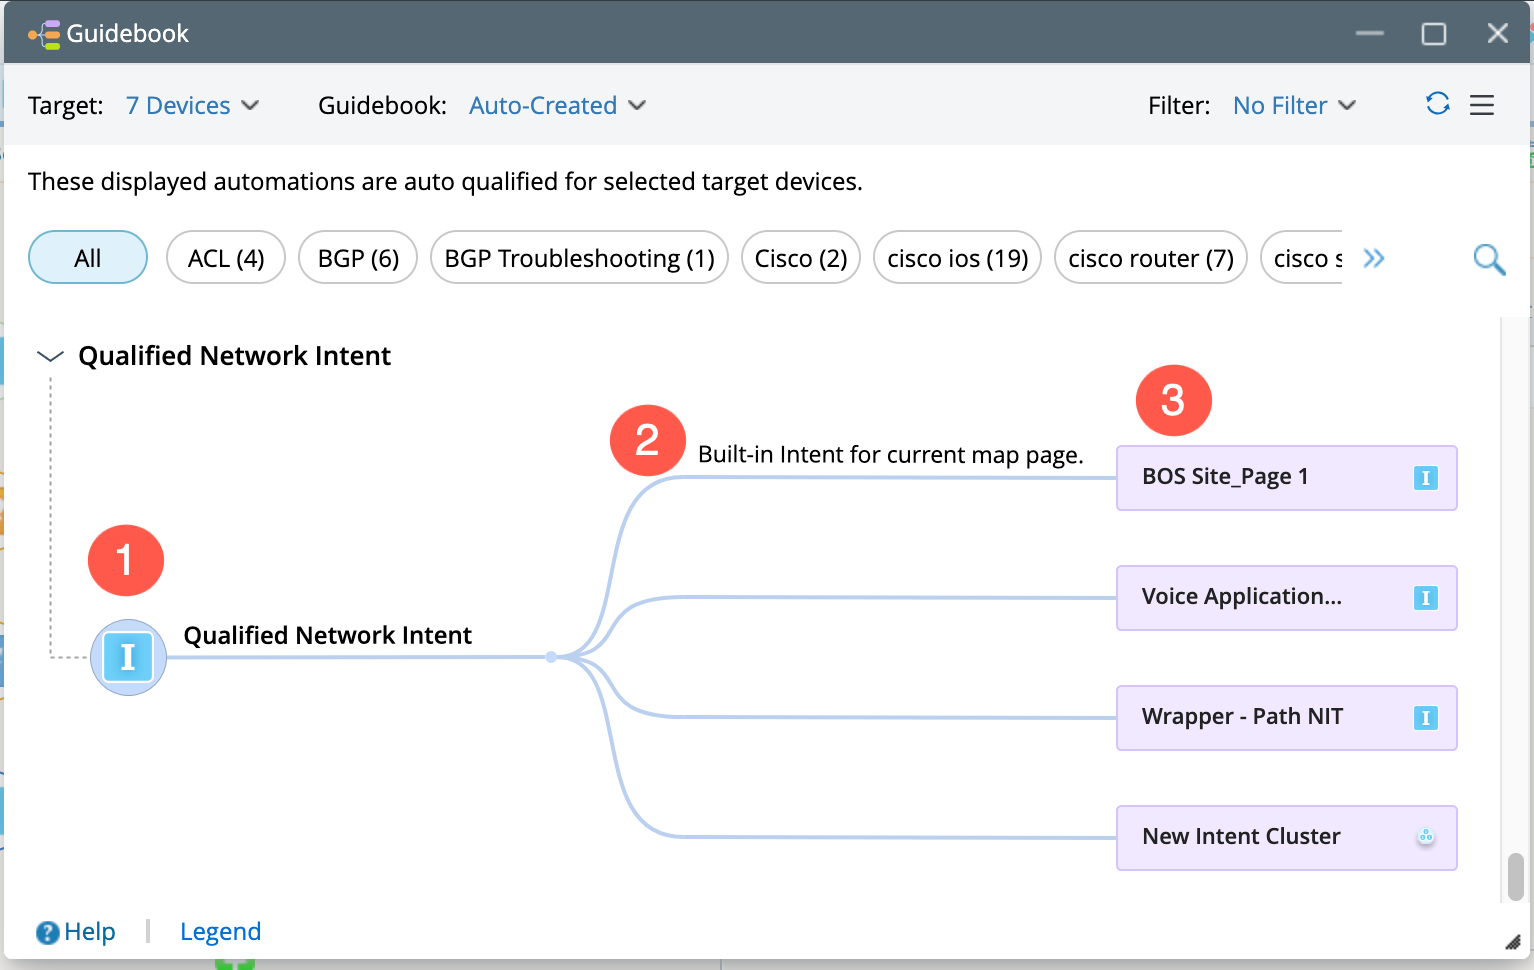
| # | Meaning | After Clicking |
| 1 | A dummy node representing all the Network Intent(s) and Network Intent Cluster(s) qualified by the target device(s) | N/A |
| 2 | The description of each specific Network Intent and Network Intent Cluster | N/A |
| 3 | The instance of each specific Network Intent or Network Intent Cluster |
The preview dialog will pop up.
|