Golden Config Discovery
Golden Config Discovery is a process to find the golden configuration and configure a Golden Rule. The step-by-step process to create a golden rule is as follows:
-
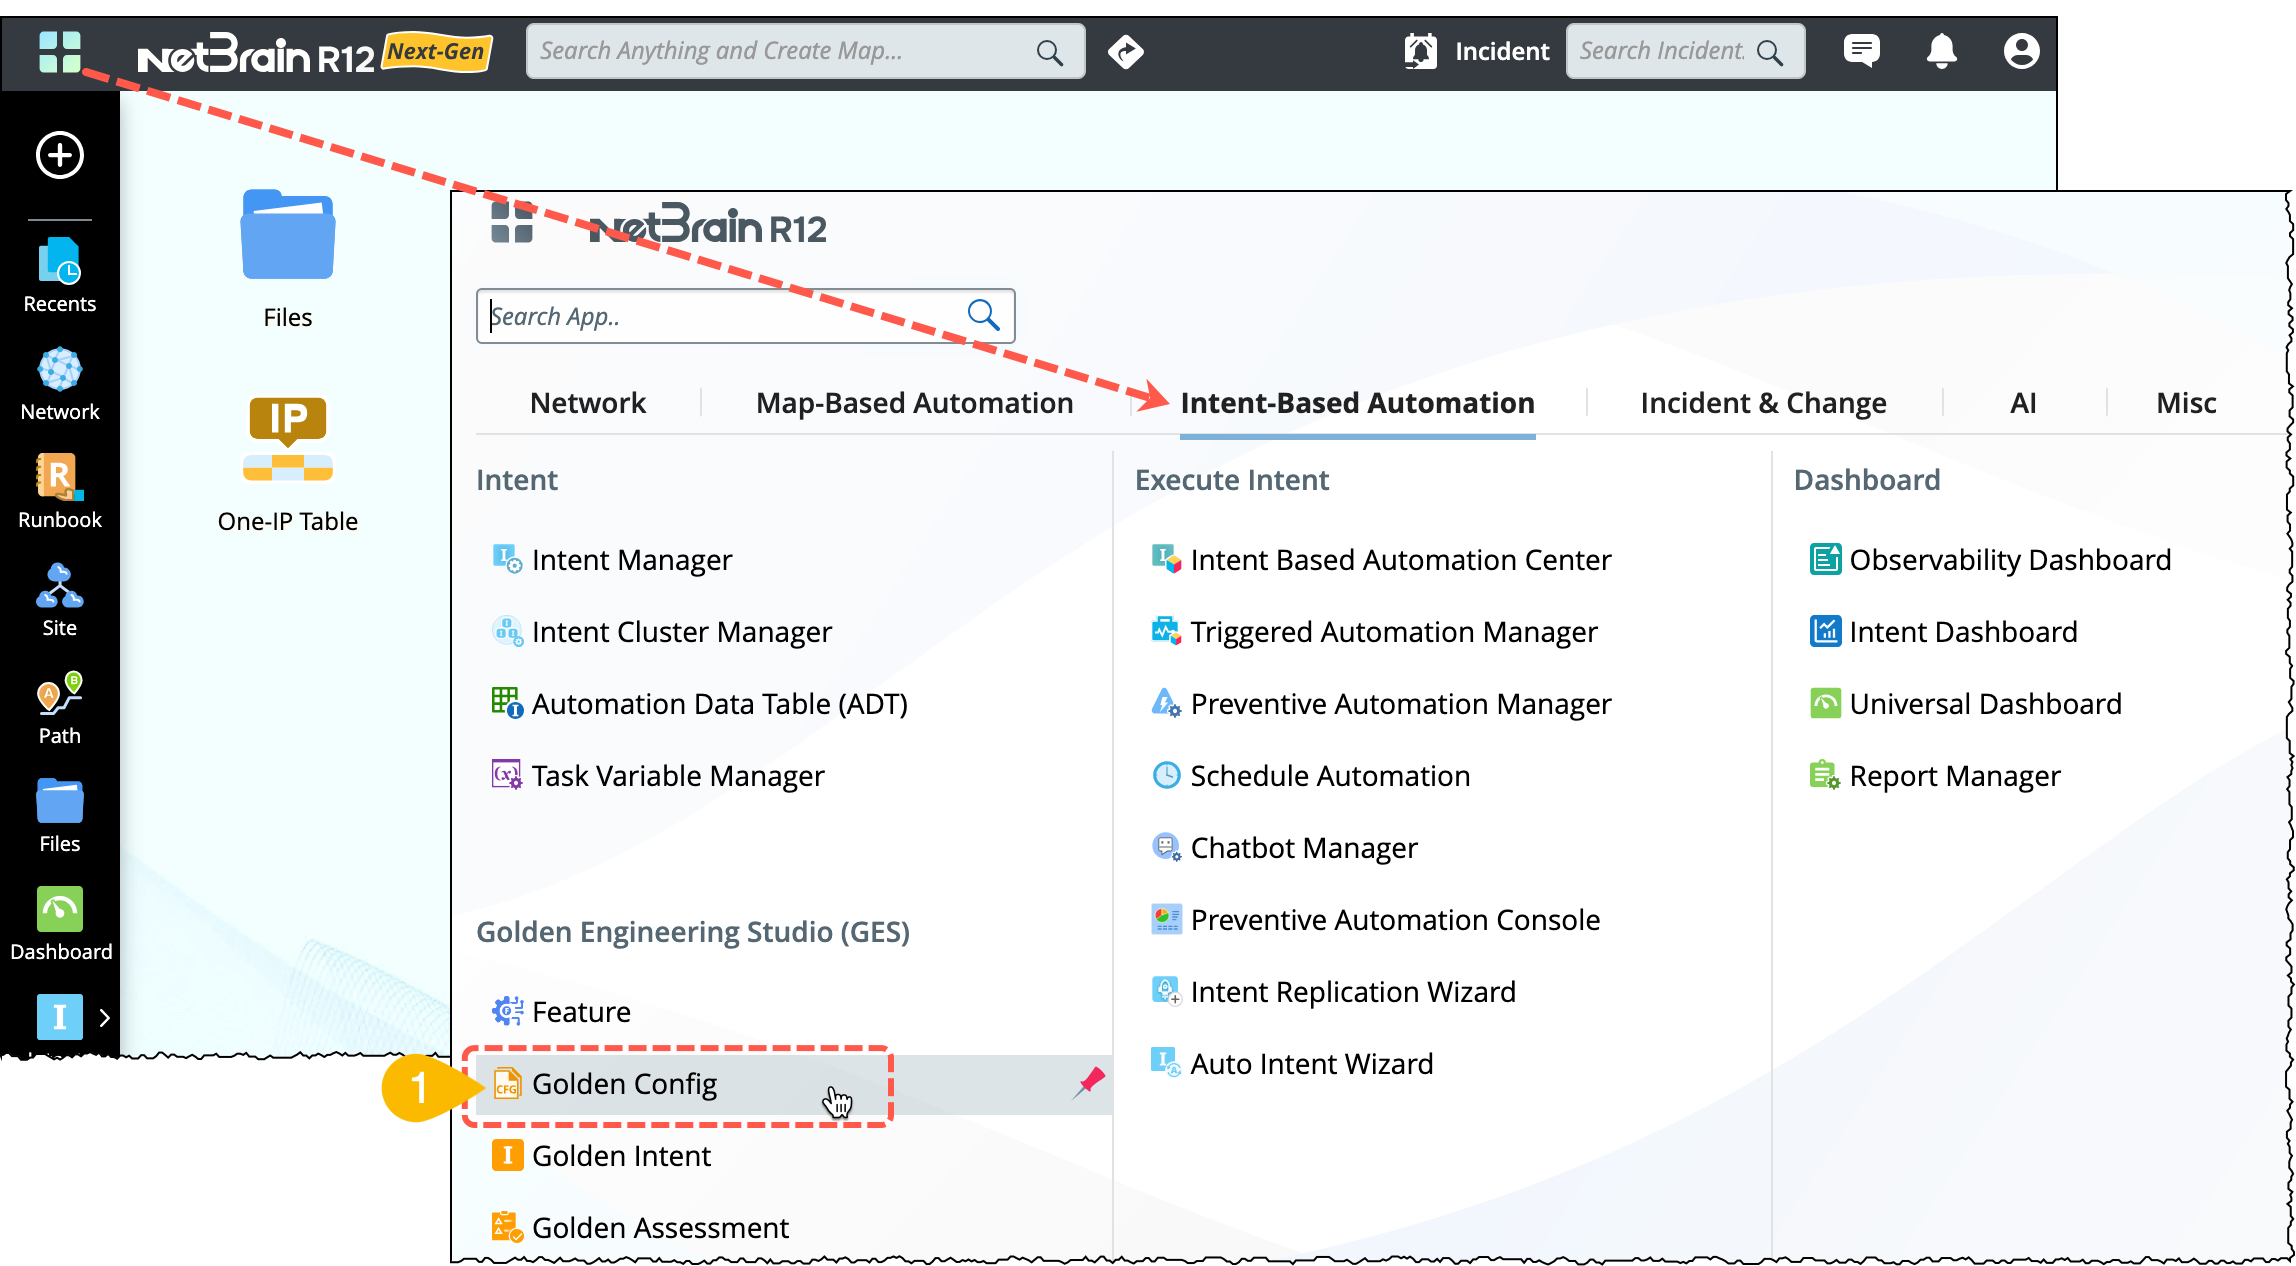
From the Netbrain desktop, go to menu
 > Intent-Based Automation > Golden Engineering Studio.
- Go to Golden Config > Golden Config Discovery.
- Choose a folder in the organized golden rule tree structure and open the drop-down menu.
- Click the option New Rule to create a new config rule.
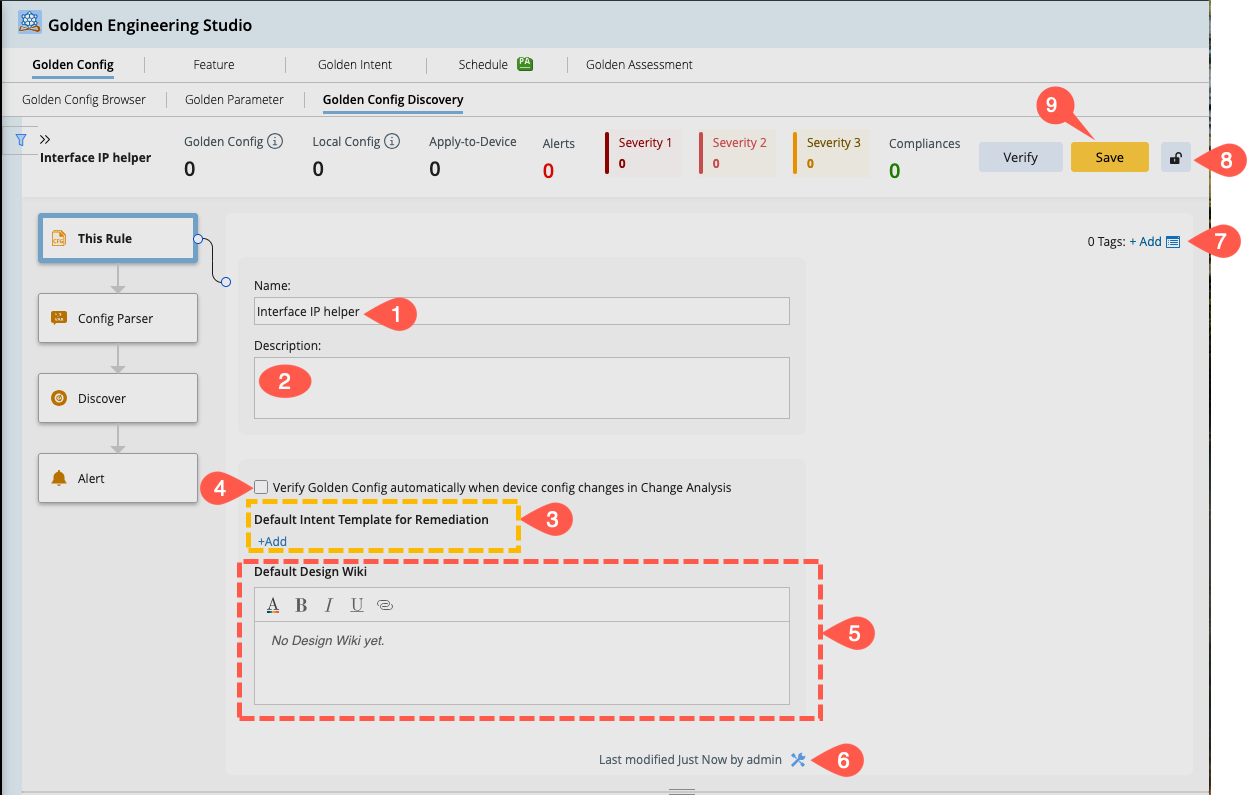
- This Rule: Define the basic information, such as the name and description of the Golden Config Rule.
- Config Parser: Select a Config Parser and choose a Target Variable for use.
- Discover: Conduct the Golden Config discovery process using two methods.
- Alert: View the alert information generated by the Golden Config for the Scope of Devices.

By default, the Golden Config Discovery pane will open in the This Rule node. The flow to create a golden rule from this step onwards is shown in the following diagram:
The detailed procedure in each node is as follows:
This Rule
It is the first step in the Golden Config discovery process. Define the basic information, such as the Name and Description of the golden config rule.
- Change the default name of the rule as needed.
- Add a brief description of the rule.
- Default Intent Template for Remediation: Set the default intent template, which can be used to create configlets to resolve detected issues.
- Verify Golden Config automatically when device config changes in Change Analysis: This option applies to the devices within the scope of the Apply-to-Device range. When device configuration files are changed and updated to the current baseline, the configuration files verification will be triggered. The results can then be viewed in the GC Browser.
- Default Design Wiki: When generating a golden config for each device or instance, content from the Default Design Wiki is inherited and displayed. The Wiki content supports rich text with the most essential options in the editor.
-
Set the
 (Advanced Settings): Define the success and alert messages. Modify the default messages as needed.

- Automation Tags: To manage the multiple rules, you can assign a tag when creating a Assessment Rule. These automation tags are used to classify the rules, enabling their use in different network event scenarios. A single tag can be associated with multiple assessment rules. Refer to Automation Tags for more details.
-
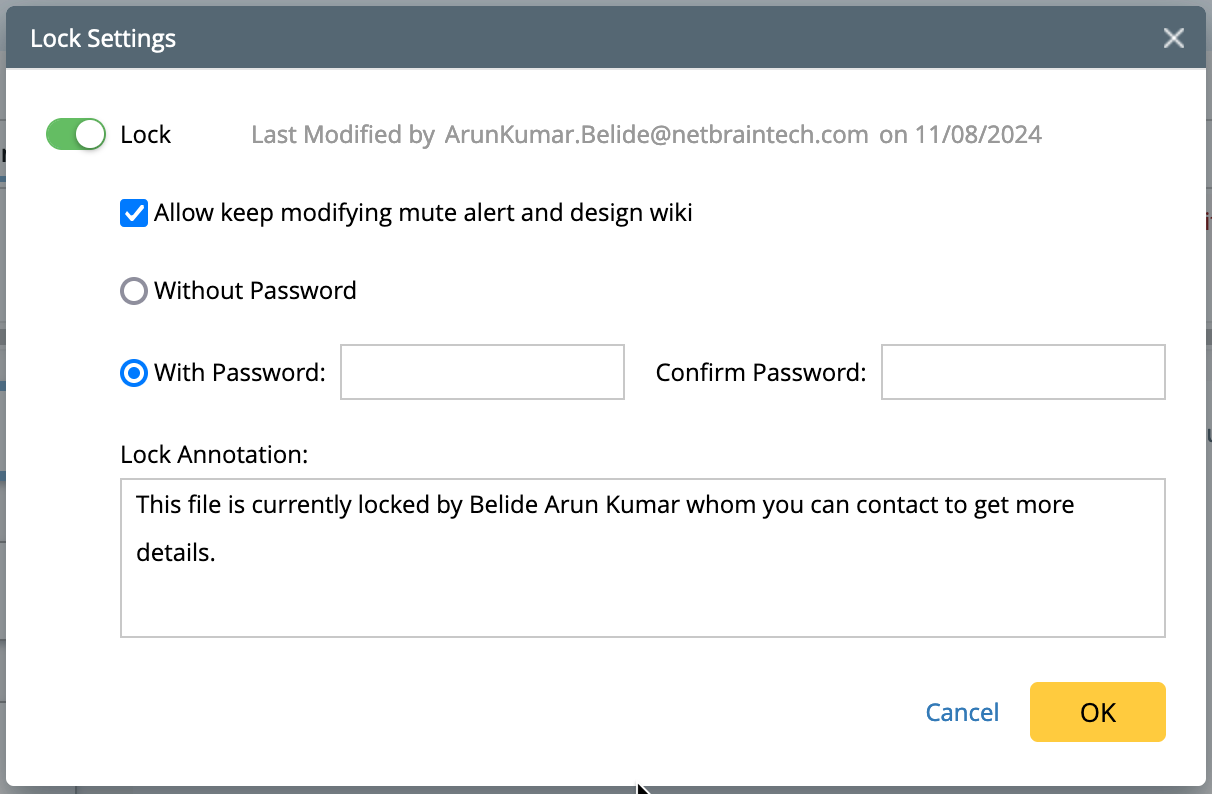
Lock function: This feature locks the Golden rule to prevent edits by other users. However, any user can still verify the configuration without needing special access privileges. And you have an option to set a password to unlock the rule.
-
Click Save to save all the information defined in the rule.
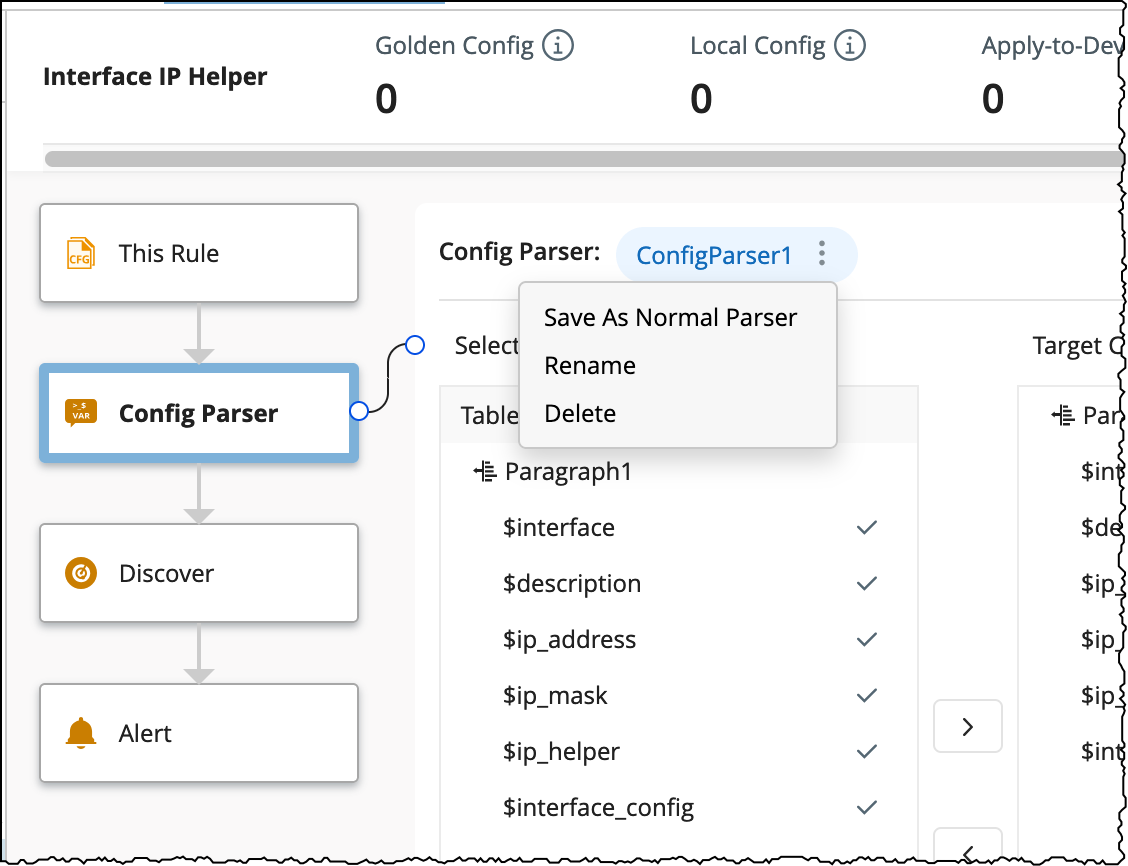
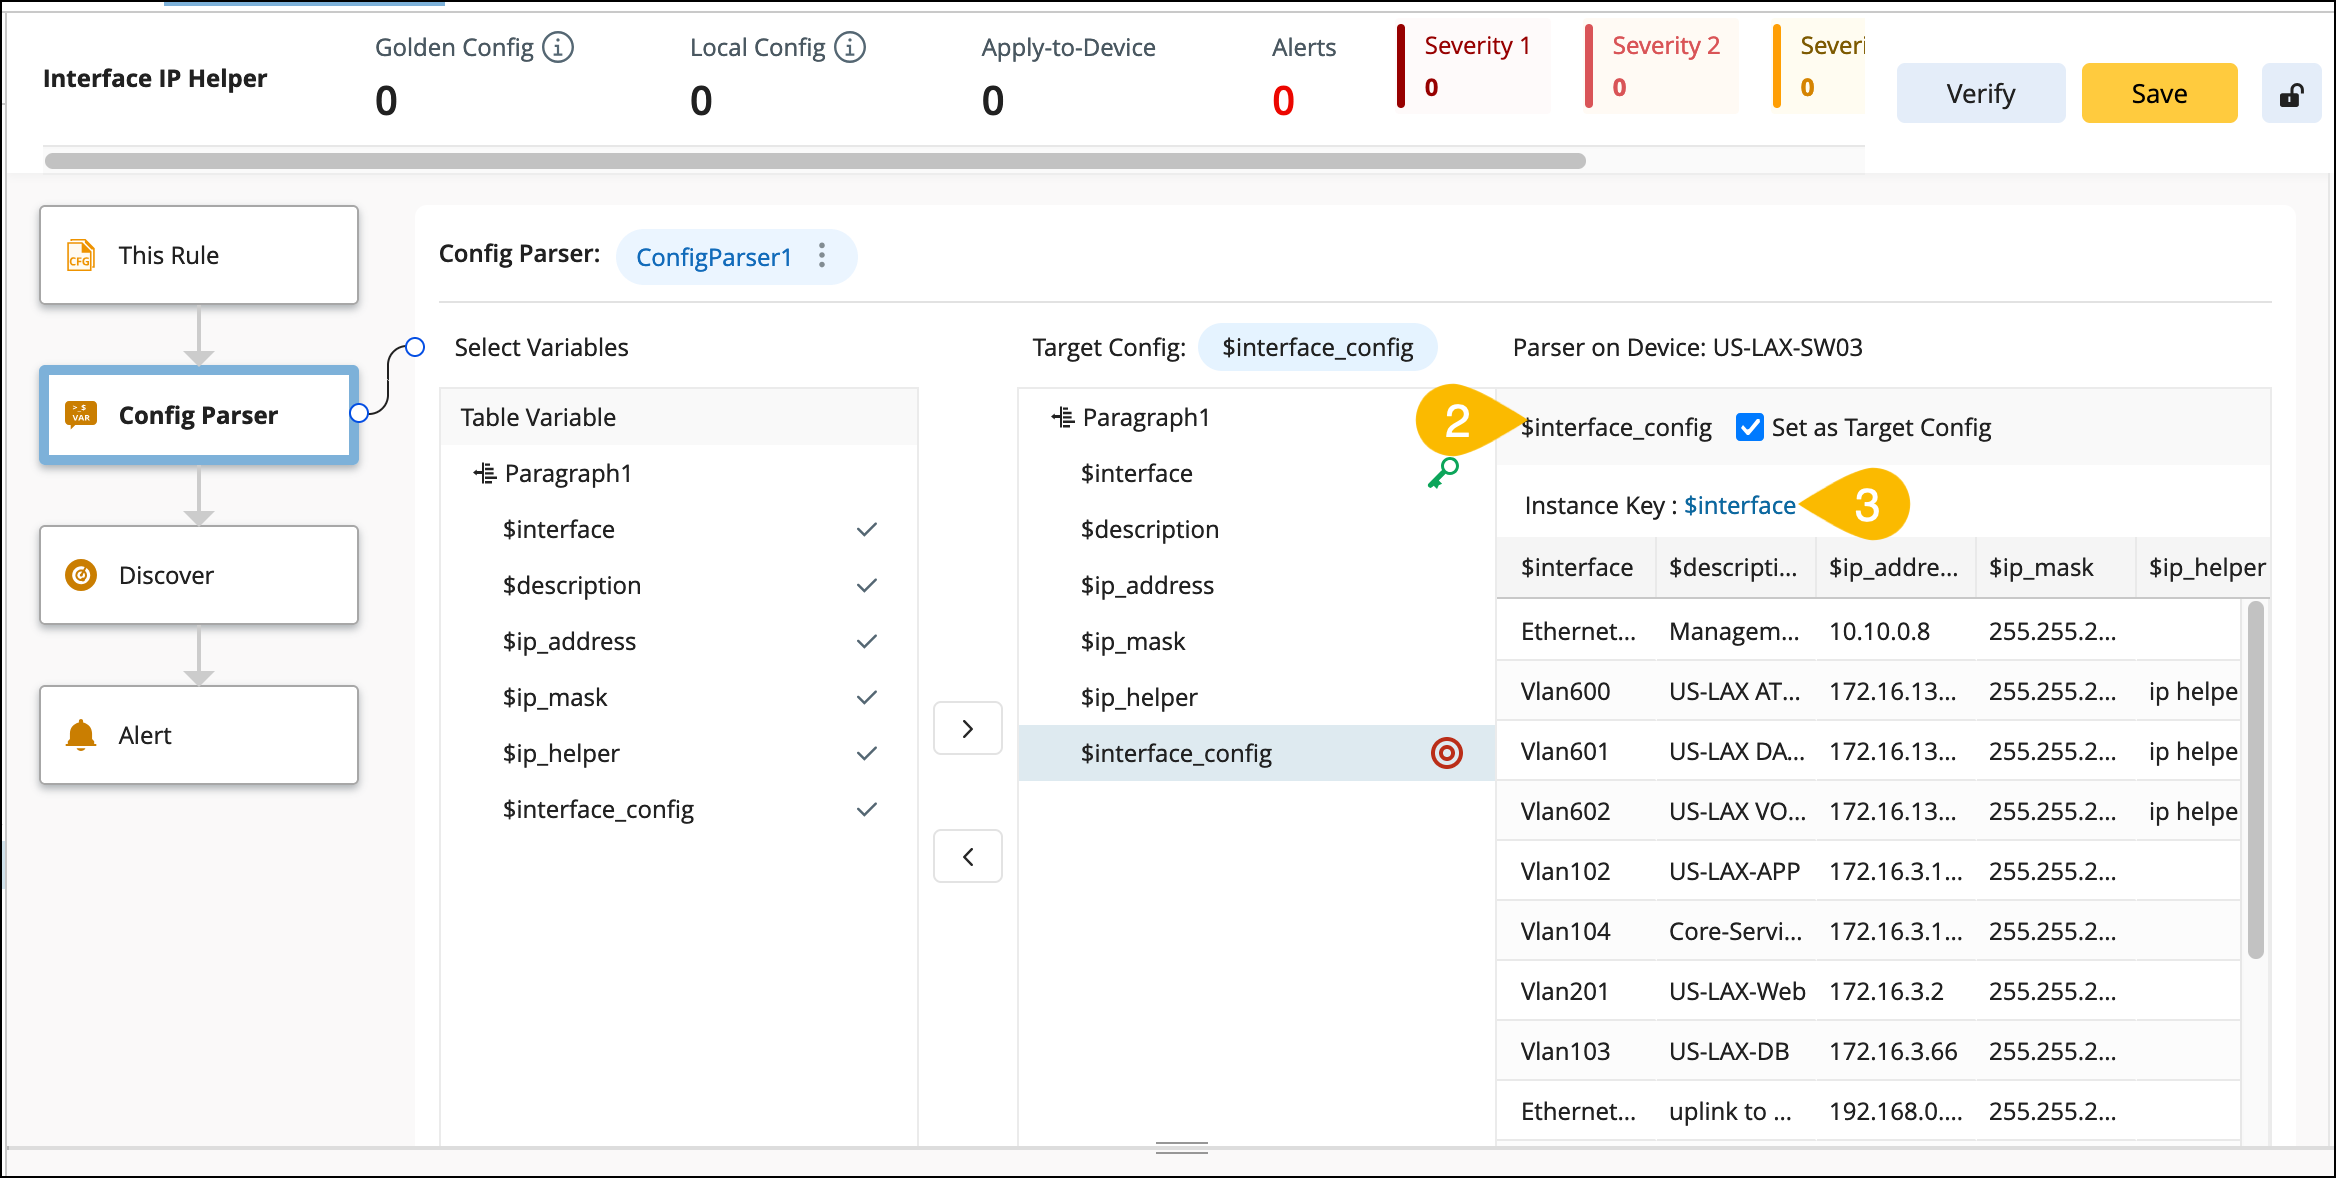
Config Parser
In the Config Parser node, you will add a Config Parser as an integral part, and all the single and table variables will be listed in the pane. These variables will be used to:
- Define Target config: To compare with the golden config template.
- To define the compliance/violation message.
- To filter config instances.
- To set the value for the input variables of the golden parameter.
You can add a Config Parser either from the Parser Library or create a New Config Parser as follows:
- Click +Add and choose Add from Parser Library or New Config Parser.
- Click New Config Parser from the drop-down menu to open the visual parser window.
- Add a device and click Retrieve with the default Cached Data selection.
- Parse the variables from the sample data.
-
You can save the newly created Config Parser to the library using the option Save As Normal Parser.
- Select one of the variables as Target Config for subsequent Golden Config definition, calculation, and verification. This Variable can either be a single-value variable for device-level config or a table column variable for instance-level config.
- Set a unique identifier for the instance information using the Instance key. Use a table column variable as the instance key; the target config will have multiple instances.

If you want to create a new parser, do it as follows:


|
Note: The Configuration data in the visual parser window cannot be modified, and CLI commands cannot be executed. |
|
|
Note: The instance key defines the representation and unique identification of each instance-level configuration. By default, the instance key is inherited from the parser. |
Discover
Upon integrating the config Parser, proceed to discover the golden configuration template using: