R12.1-JA-2025June05
Publish a Function Portal
Only users with the Function Portal Management privilege can define function portals and publish the function portals to end users. Complete the following steps to define a function portal.
- Click the start menu
 and select Function Portal Manager.
 - On the Function Portal Manager page, click Add Function Portal.
- Complete the following settings to define the function portal.
- On the Basic Settings tab, specify the basic information.

- Enter a portal name, assign a URL to the function portal, enter a description, and select the contents to share through this portal.
- Select the Set Access Code checkbox to set an access code for users who do not have NetworkBrain system accounts or portal user accounts to log into the function portal.
- On the Content Settings tab, select the corresponding contents in the blocks. You can also set the label to categorize or identify the content.
- Map: In this block, you can make the following settings:Label: Specify the application label.Select: Click Select to choose the maps available to the function portal users from the popup Map Folder Tree.
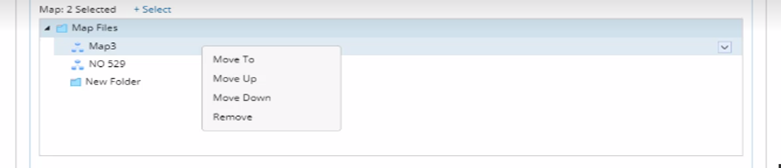

Note: For the Map setting, you can select site maps available to function portal users. 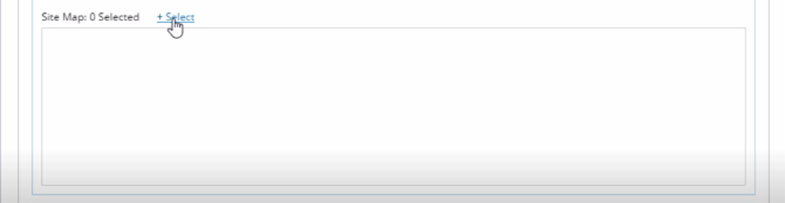
- Application Path: In this block, you can make the following settings:Label: Specify the application label.Select: Select the paths available to the function portal users from the popup list of paths.
Note: For Application Path settings, you can select which cached path to share and whether the shared path allows live calculation. 
- One-IP Table: In this block, you can specify the application label.

- Map: In this block, you can make the following settings:
- On the Data View Settings tab, you can enable the function portal user to switch data views. The All Data Views checkbox is selected by default. You can also select the specified data views.
- On the Other Settings tab, you can keep the default settings or see Other Settings to customize your settings.
- On the Basic Settings tab, specify the basic information.
- Click Save. In the popup Notification window, select Copy Invitation Information to share the portal information with others via email or instant messaging tools.
Basic Settings
The following table introduces the basic settings you can configure.
| Basic Setting | Explanation | ||
| URL | Fill in the second half of the URL. If not, the system automatically fills in the portal name when you fill in the portal name for the first time.
| ||
| Select contents to share through this portal | Select the following contents that you want to share:
| ||
| Time Zone | You can also choose your time zone to reflect accurate time stamps of your portal. Only when you check the Set Access Code checkbox the Time Zone appears. |
The following table lists the other settings you can configure.
| Other Settings | Explanation |
| Page Style | The Page Style determines how the web page displays, such as UI style, header, and footer. The system provides two styles.
|
| Login Interface |
|
| Support Information | Publisher and email are mandatory, and the phone number is optional. |

