Define and Manage Bot in NetworkBrain
NetworkBrain power users can define multiple bots that will be categorized by different vehicles, like:
- By network technologies, e.g. Routing (BGP/OSPF/ISIS, etc.), Multicasting, MPLS, etc.
- By location, e.g. US-NY-DC1, US-CA, EUR-ENG, etc.
- By teams, e.g. NOC-level1, NOC-level2, US-Security, US-IT, etc.
Power users can decide how to organize the bots in their company.
Follow the steps below to define a Bot:
- Understand the basic components of a Bot
- Define basic info for a Bot
-
Based on your needs, you can decide whether to define a Single Selection Bot, Multiple-selections Bot, or Input Text Bot.

Note:
-It is recommended to update or re-define the NetworkBrain Bot during off hours or scheduled change slots. Otherwise, end users may get unexpected results from outdated interaction guidance.
-If the Bot is being used by end users while updated by power users, end users must use change bot command in Teams to load the most recent changes.
Prerequisite
Since the execution basis of bot automation depends on the Incident Type, it is a prerequisite to defining the Incident Type and NI/NIC for creating maps and running troubleshooting diagnoses. For more details, please refer to: How to define Incident Type.
Basic Components of a Bot
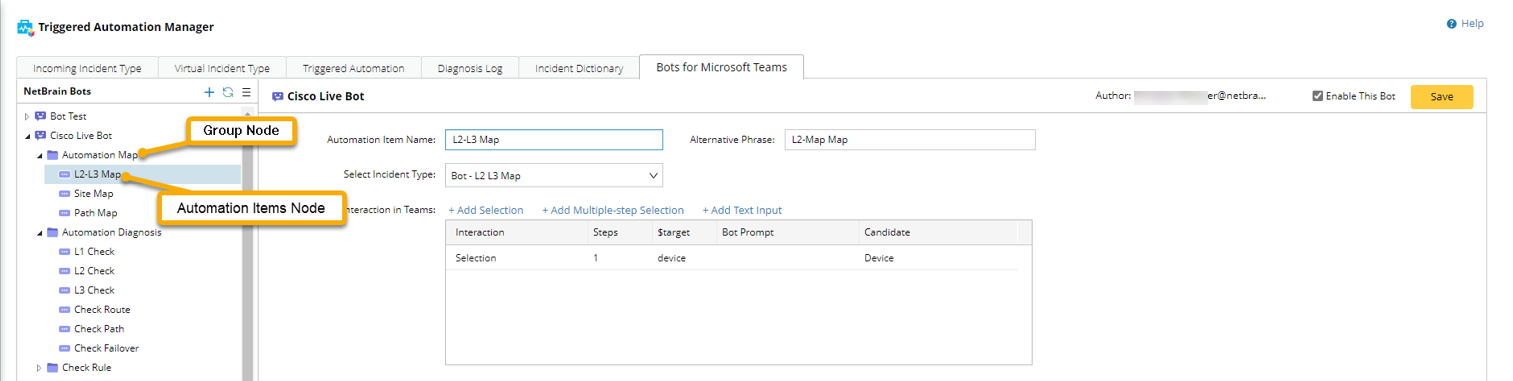
- Group Node: Read-made answers appear on the response to help users navigate to the automation items. And you can organize the automation items in this node.
Example:
-
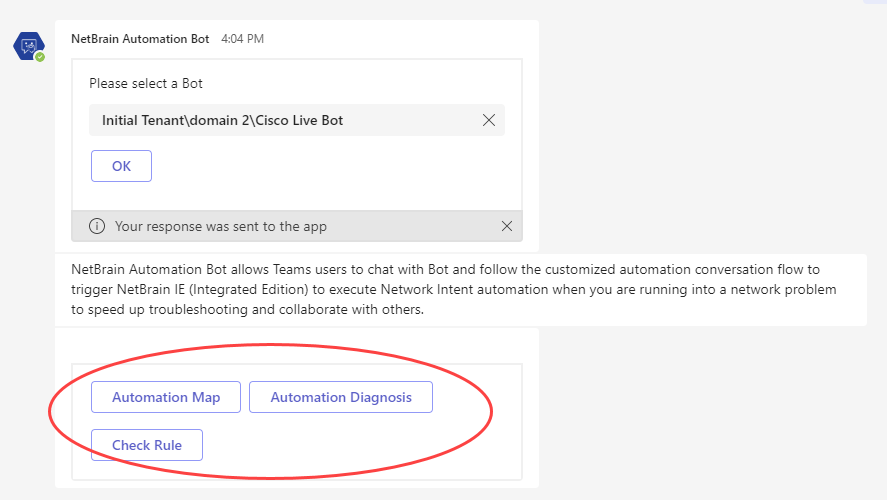
Power users created three group nodes: Automation Map, Automation Diagnosis, and Check Rule under the Cisco Live Bot in NetworkBrain.

-
End user: After selecting Cisco Live Bot, you can see and select these answers in Teams.
- Automation Item Node: To associate with an incident type that provides different automation diagnosis logic for different network problems.
Define Basic Info for a Bot in NetworkBrain System
-
Click the
 start menu and select Triggered Automation Manager.

- Navigate to the Bots for Microsoft Teams tab.
-
Input the basic info:
-
Enable the Bot and click Save.
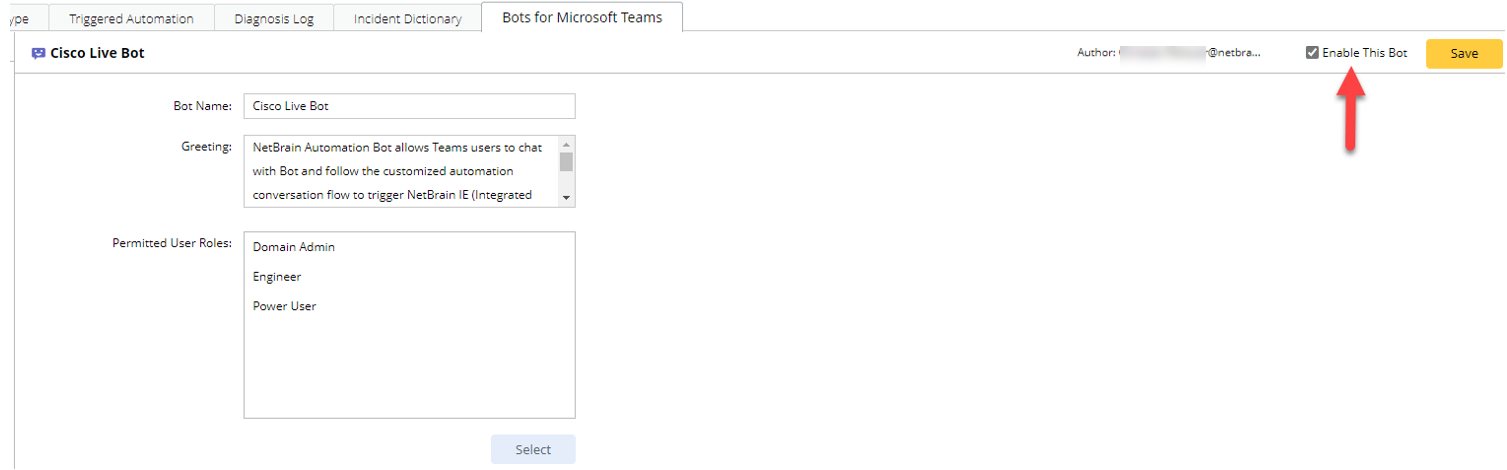
In NetworkBrain In Teams Bot Name End users can see the Bot name when selecting a bot. Greeting End users will see the greetings after selecting this Bot. 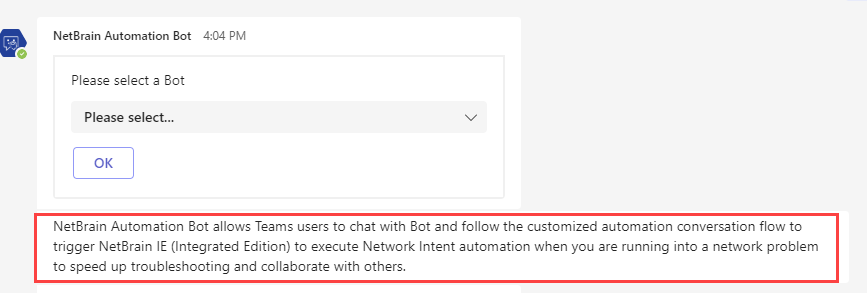
Permitted User Roles
(Which user role is allowed to use the Bot)
End users will only be able to view the Bot assigned to their user role.