Installing Front Server

Contents
Complete the following steps with administrative privileges.
1.Download the netbrain-frontserver-windows-x86_64-8.0.3.zip file and save it in your local folder.
Tip: Contact NetBrain Support Team to get the download link.
2.Extract installation files from the netbrain-frontserver-windows-x86_64-8.0.3.zip file.
3.Right-click the netbrain-frontserver-windows-x86_64-8.0.3.exe file, and then select Run as administrator to start the Installation Wizard.
1)On the Welcome page, click Next.
2)On the System Configuration page, review the system configuration summary and click Next.
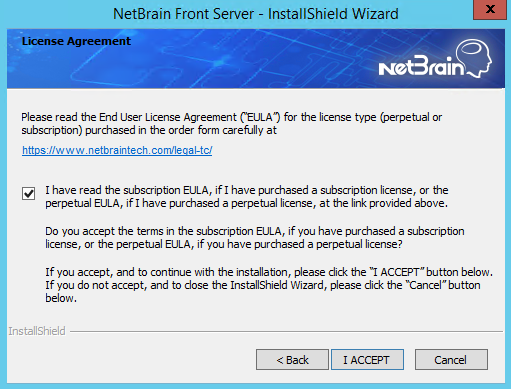
3)On the License Agreement page, read the license agreements, select the I have read the subscription EULA… check box and then click I ACCEPT.
4)On the Destination Location page, click Next to install the Front Server under the default directory C:\Program Files\NetBrain\. If you want to install it under another location, click Change.
5)Review the summary of the current installation settings and click Install.
4.After the Front Server is successfully installed, click Finish to complete the installation process and exit the Installation Wizard. Close the pop-up registration program.
Note: The Front Server service will not be automatically started until the Front Server is added to a tenant and successfully registered. See Adding a Front Server to a Tenant and Registering the Front Server for more details.
5.To install more Front Servers for load balancing, repeat the above installation steps on separate machines.
See also:
▪Adding a Front Server Group for Load Balancing
▪Registering NetBrain Front Server on Windows