R11.0a-March2023
Save the Created Intent
The created intent can be saved as map intent, path intent, or common intent for future use or documentation.
Save as Map Intent
Follow the steps to save the created intent as a map intent:
- Click Save as Map Intent from the Menu on the left of the Run button.
- Define the Map Intent from the pop-up dialog box.
- Description: By default, the Description field displays a collection of descriptions of all the selected NITs. You can edit the Description field.
- Append with the Existing One: The devices and command sections of the saved intent will be added to the existing map intent.
- Overwrite the Existing One: The original map intent will be replaced with the newly saved map intent.
- Add the Intent to Runbook (optional): Enable this function to add the saved intent as a Runbook node.
- Click OK. A message will appear after successfully saving the intent.

- After viewing information about the saved map intent, click OK to close the message box.
Save a Path Intent
The created intent can be saved as Path Intent for those paths drawn on the current map. In other words, only the paths shown on the current map can be selected here.
Follow the steps to save the created intent as a path intent:

- Select Save as Path Intent from the Menu on the left of the Run button.
- Define the Path Intent from the pop-up dialog box.
- Path: Select a path for saving the intent.
- Path Intent Description: Enter the description of the Intent.
- Append with the Existing One: The devices and command sections of the saved intent will be added to the existing path intent.
- Overwrite the Existing One: The original path intent will be replaced with the newly saved path intent.
- Add the Intent to Runbook (optional): Enable this function to add the saved intent as a Runbook node.

Note: A message will prompt if there is no saved path on the map. 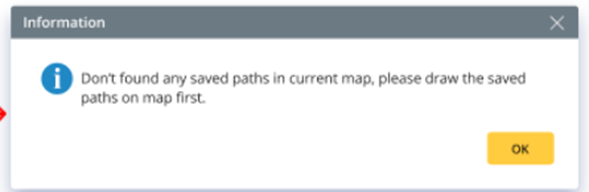
- Click OK. A message will appear after successfully saving the intent.
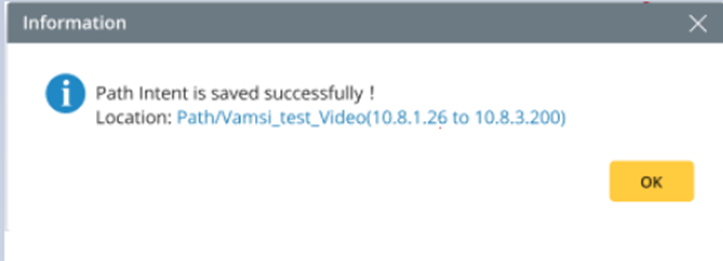
- After viewing the saved path intent information, click OK to close the message box.
Save as Common Intent
Follow the steps to save the created intent as a common intent:
- Select Save as Common Intent from the Menu on the left of the Run button.
- Define the Intent from the pop-up dialog box.
- Name: Enter an intent name.
- Description: Edit the Description of the Intent.
- Add the Intent to Runbook (optional): Enable this function to add the saved intent as a Runbook node.
- Location: Select a place for storing the intent. By default, the All Network Intents folder is the location to store the intent.
- Click OK. A message will appear after successfully saving the intent.
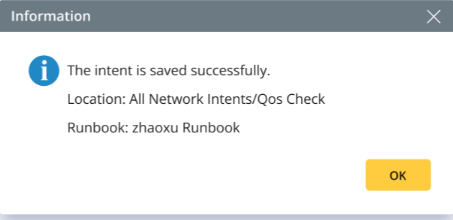
- After viewing the information about the saved common intent, click OK to close the message box.