2023-Nov-03-R11.1a
Create a Domain
Before creating a domain, make sure your user account has the privilege of creating domains,
Follow the steps to create a domain.
- Click the domain name on the quick access toolbar, then click Select Domain. The pop-up dialog box displays the current domain and tenant you are working on.
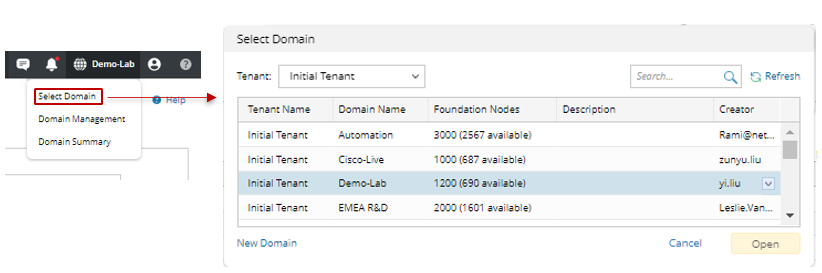
- In the pop-up dialog box, select the target tenant and click New Domain. The Create Domain Wizard is launched to guide you through the mandatory steps to create a domain.
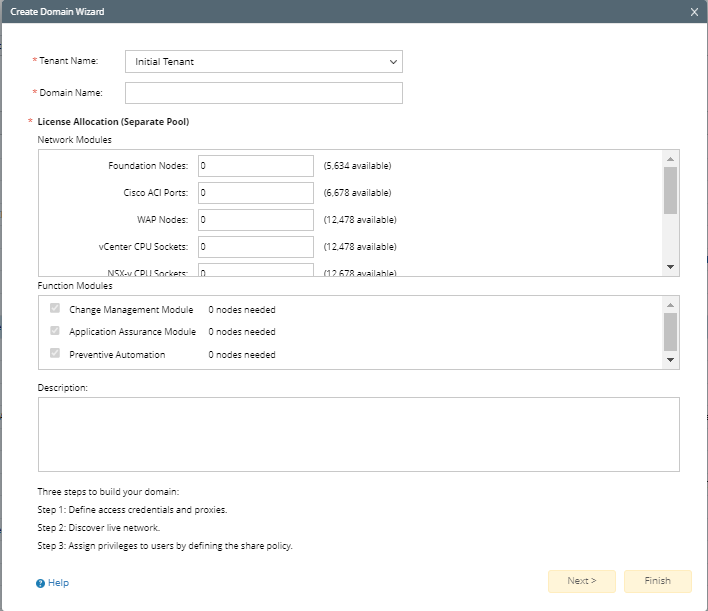
- Select the target tenant, enter the basic information for the new domain, and then click Next.
- Domain Name — a unique name in the system, case-insensitive.
- License Allocation — allocate license nodes to the new domain
- Network Module— set the maximum number of license nodes for Network Module
- Function Module— set the maximum number of license nodes for Function Module
- Description (optional) — a brief text to describe the domain.
- Follow the wizard to complete the following steps.
- Define shared access credentials and proxies for all non-interactive live access, then click Next. See Configuring Network Settings for more details.
- Discover your live network and build Layer 3 topology, and click Next.
- Define share policy (accesses and privileges) for domain users, and click Finish. See Configure Share Policy for more details.
See also: