R12.1-JA-2025June05
Add a Proxy Server
- Log in to System Management Page.
- On the System Management page, select the Proxy Manager tab.
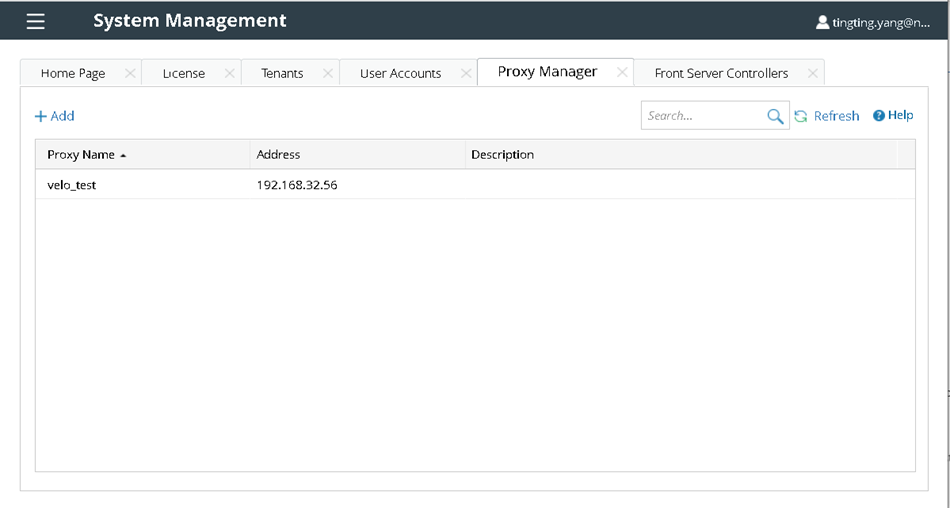
- Click +Add to configure the Proxy settings.

- On the Proxy Settings page.
- Specify the name of the Proxy Server and enter the description for the proxy server.
- Configure the IP address, port number and login credentials of the Proxy Server.

Note: Not all Proxy requires login. Username and password are not mandatory.
Tip: There is no need to specify HTTP or HTTPS Proxy, as the system will automatically determine the proxy type. - Define the acceptances field by entering the URLs that require Proxy. This field is a whitelist containing the respective IP addresses and URL suffixes.
Note: Use semicolon ";" to separate different URLs.
Tip: When adding Proxy Server, the system will automatically fill in a built-in list of well-known suffixes, including: - azure.com
- microsoft.com
- microsoftonline.com
- amazonaws.com
- windows.net
- https://api.datadoghq.com
- splunkcloud.com
- cloud.splunk.com
- Click OK to apply the above settings.