10.1.15.12-06212024
Understand and Manage Parser Library
You can view, add, edit, and manage all Parser files in Parser Library. There are three types of Parsers:
- Built-in Parsers — contains the pre-installed Parser files. This category is accessible to all users but can only be modified by system administrators.
- Shared Parsers in Tenant — contains Parser files accessible to all users in this tenant.
- My Parsers — contains Parser files only accessible to yourself. You can find your private parsers in all accessible domains under the current tenant.

|
Note: Parser Library can store both visual parser and advanced parser. |
Working with Parser Library
- Go to Start menu
 > Misc, then select Parser Library.
 - Select a specific Parser and do the following basic operations from the parser right-click menu, including open, export, delete or rename a parser, save the parser as a new parser, copy the path of the parser.

- To create a Parser:
- Right-click My Parsers, then select New Folder and enter the folder name (for example, Show Route). A new folder is created.
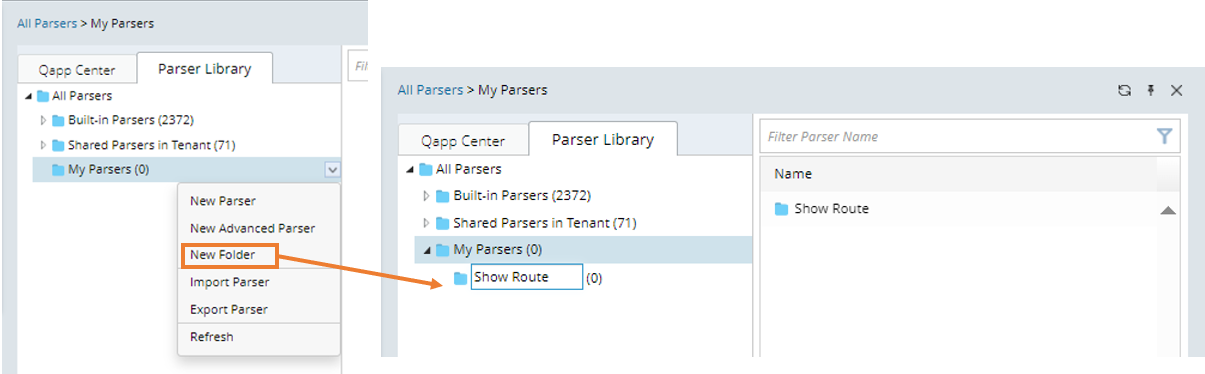
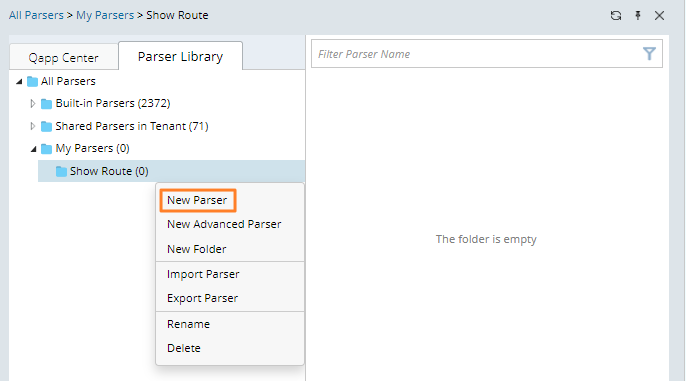
- Right-click the new folder and select New Parser to create your Visual Parser.
Note: You can also click Import Parser to import a Parser from your local disk. 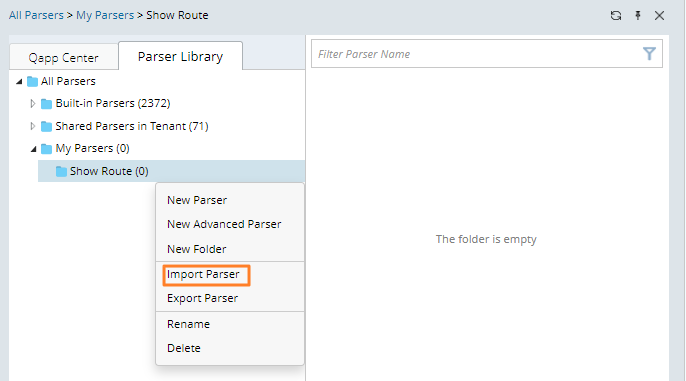
- Right-click My Parsers, then select New Folder and enter the folder name (for example, Show Route). A new folder is created.
- After defining a Parser, you can right-click it to do more if needed, such as renaming, exporting, or deleting the parser.
See also: