Set Up API Server in NetBrain
The API Server that you need to set up is used to define and manage the required parameters to access 3rd-party systems via APIs.
You can set up two types of API Server in NetBrain:
- SDN orchestrator, such as Cisco ACI APIC Server account.
- Public cloud orchestrator, such as AWS Account and other NMS (Network Management Systems, like Splunk, ServiceNow System).
Add an APIServer for Single Site
Follow the steps below to add a controller and specify the address and user credentials to access the Controller in the system.
- Click
 in your NetBrain desktop and select API Server Manager from the drop-down menu.
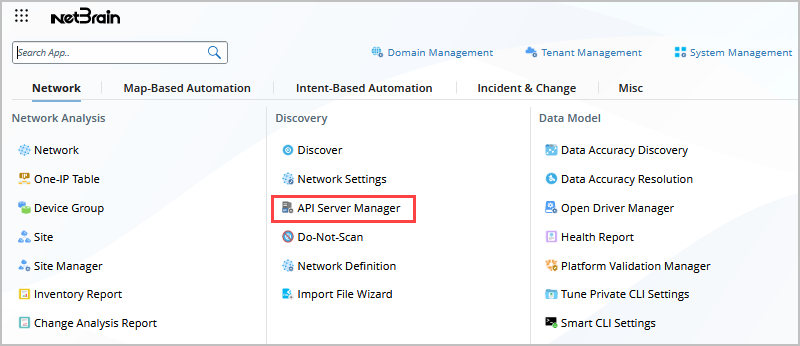
- On the API Server Manager tab, click Add API Server. The following is an example.
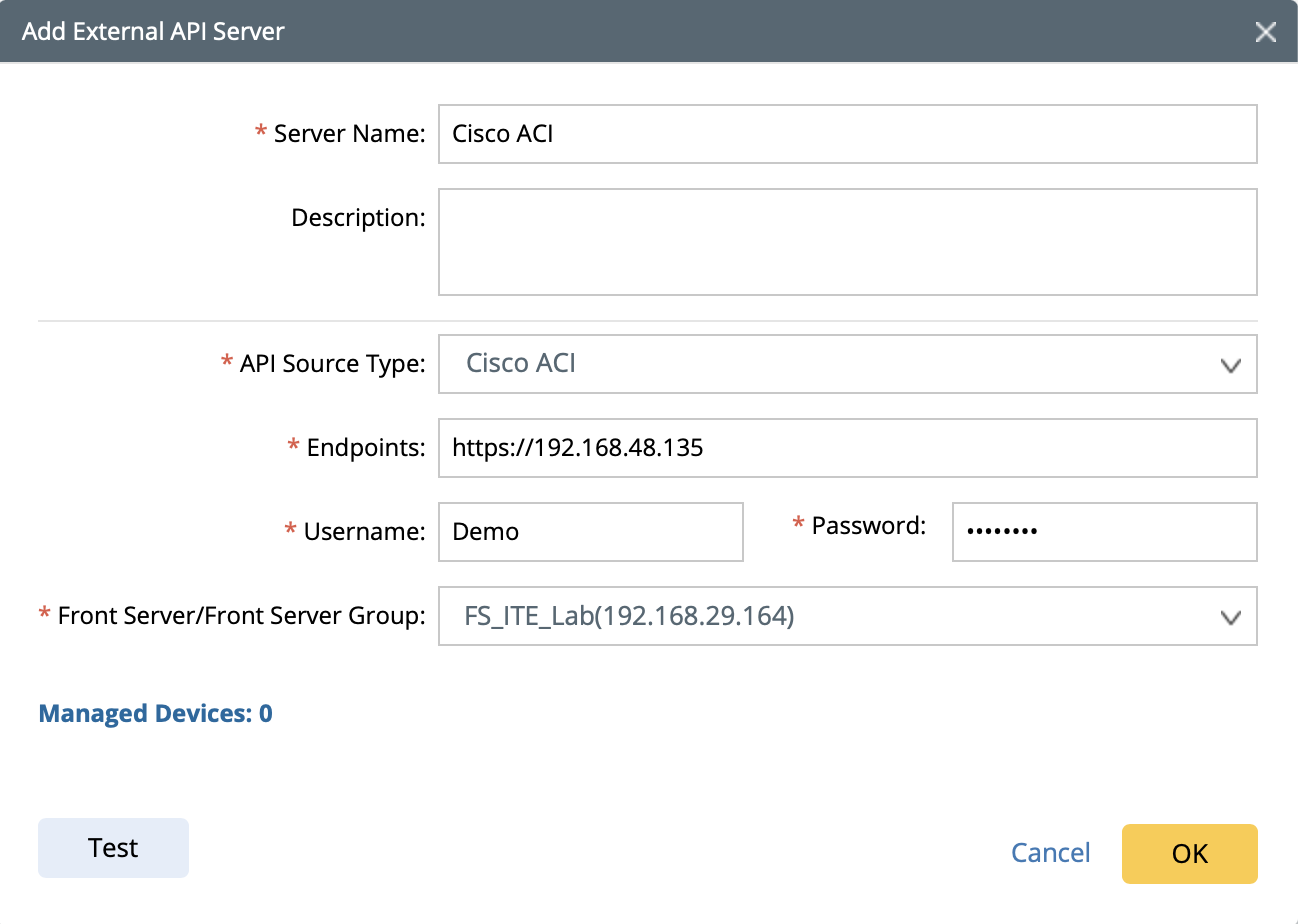
- Enter a unique name in the Server Name field.
- Select Cisco ACI from the API Source Type drop-down menu.

Note: If you want to add an API server for MSO (Multi-site Orchestrator), you must select MSO in this field and then repeat other steps to add API servers for each ACI site.
Note: Each source type mapping to a Techspec (Network Technology, Cisco ACI, AWS) or API Adapter (Splunk, ServiceNow). And each source type has its parameters that can be predefined in Techspec.
- In the Endpoints field, enter the URL of the Controller.
- Enter the username and password to access the Controller.
Note: To support all features, your account needs the admin privilege for your APIC API Server.
- If more parameters are required when you access the controller or request data from the Controller, you can click Advanced to configure the keys (parameter names) and values.
- Select a Front Server or Front Server Group.
Note: Make sure that port 7086 of your NetBrain Front Server is not occupied by other applications because this port is used by the service components of a Front Server to communicate with each other.
- Click OK.