Creating a Dashboard from Map

Contents
To create a dashboard from a map, you can run a dashboard template from a saved map directly. All devices on the map are added as the device scope of the dashboard automatically.
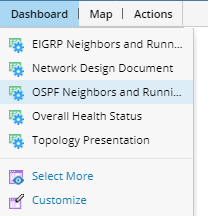
Example: Create a dashboard from the OSPF Neighbors and Running Status [Cisco IOS] template.
1.Create a map and draw target devices on the map, or open a map file.
2.On the map page, click Dashboard from the map toolbar and select OSPF Neighbors and Running Status [Cisco IOS] from the drop-down list.
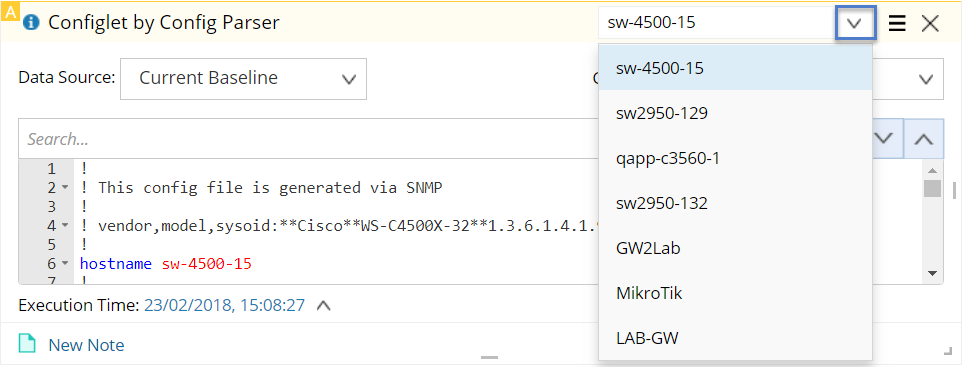
A new dashboard is created targeting all devices on the map. The Map Widget immediately loads the map contents. The ConfigLet by Config Parser Widget immediately presents the OSPF configlet of a single device with the data in Current Baseline.
3.At the upper-left corner, click Run to retrieve live data for other widgets that are associated with a Qapp. By default, all widgets except for the Map Widget display data for one single device.
Tip: To make these static widgets present live data, see Retrieving Live Data for more details. To configure Qapp execution frequency, see Qapp Settings for more details.
4.To browse the data of another device, click the ![]() icon in any one of the widgets and select the target device from the drop-down list. The other widgets will synchronize with this change immediately.
icon in any one of the widgets and select the target device from the drop-down list. The other widgets will synchronize with this change immediately.
5.Adjust your dashboard with more settings based on your needs, such as adding widgets, updating device scope, and unlinking widgets. See Dashboard Settings for more details.
6.Click the  icon to save the dashboard.
Note: Closing a dashboard page in your web browser directly will not terminate the execution of a recurring dashboard. To terminate the execution, you need to click Stop.
See also:
▪Customizing Favorite Dashboard Templates
▪Creating a Dashboard from Scratch
▪Exporting a Word Document from Dashboard