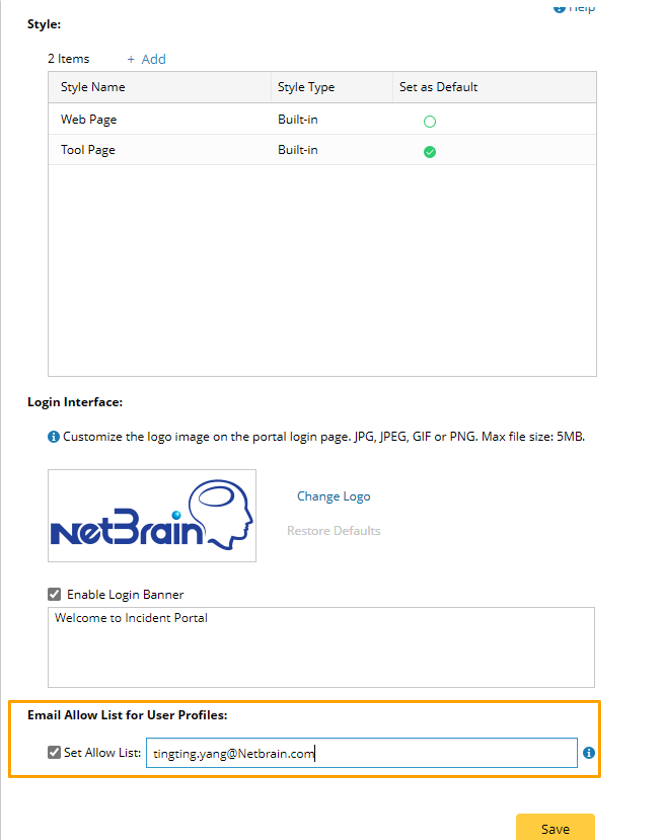
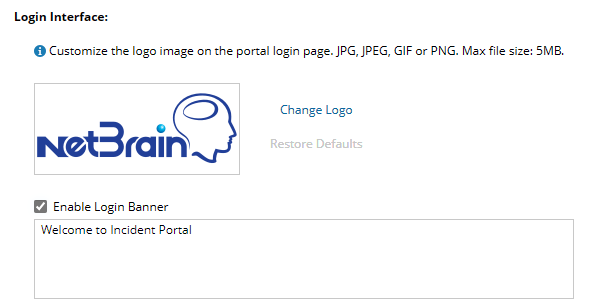
The system allows you to customize the layout template of Incident Portal within a domain, such as portal page style, customized logo on the login page, and login banners. The portal layouts in the domain are centrally defined and managed at Domain Management > Incident Portal Layout Settings, where all available portal styles are organized in the form of a grid in the Style section.
To define layout of Incident Portal, follow the steps below:
- Log in to the Domain Management page.
- In the Domain Management page, click Incident Portal Layout Settings from the quick access toolbar.

- Keep the default settings or perform the following steps to customize the settings.
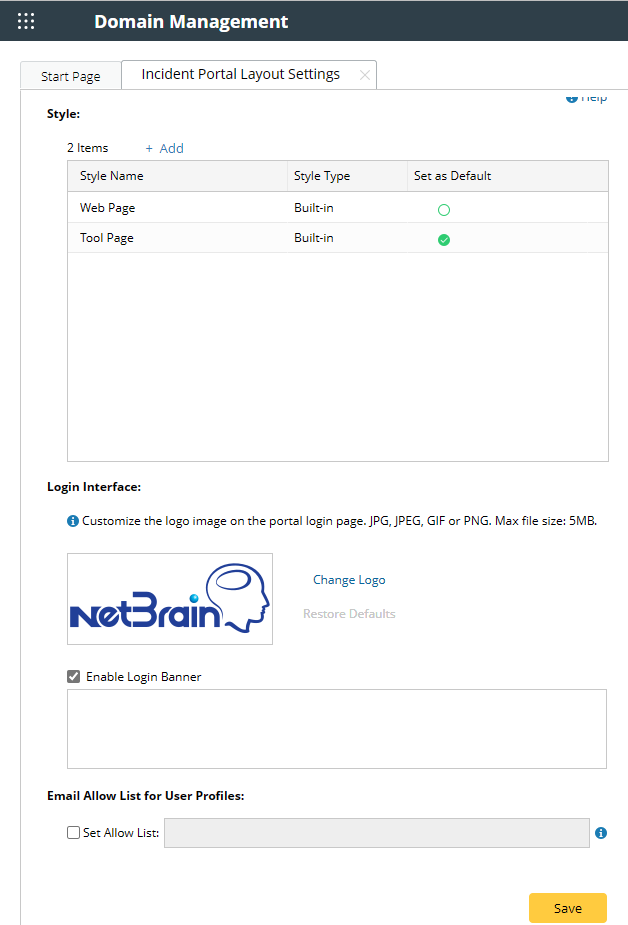
Set default portal style: Select a portal style as the default portal style from the Style list by turning on the corresponding option. The system provides two built-in templates.
- Web Page Style Template (Default One):
- Tool Page Style Template:

Note: The columns in the Style list are described as follows:
- Style Name: Name of the portal style.
- Style Type: Built-in portal style is the style provided in the system; customized portal style is the style defined by users.
- Set as Default: Select a portal style as the default style, which will be applied to new incident portal. By default, Web Page style is selected as the default style.
a. Enter the style name.
b. Select a built-in style as the template for the new portal style.
c. Define the portal style details, such as the Theme, Header.
|
|
Note: Customized styles can be edited or deleted. Built-in styles can only be previewed. |
Select the Set Allow List check box and enter the email addresses. Only the user profiles with the allowed email addresses can be successfully created.