10.1.15.12-06212024
Work on Map Stencil
To make the map more interactive or if it is needed to add any information to the map, use Stencils as follows:
-
On the map page, select Stencils from the Map Toolbar to open the toolbox.

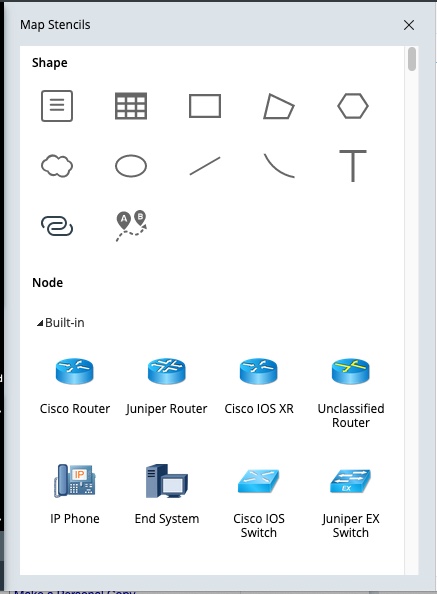
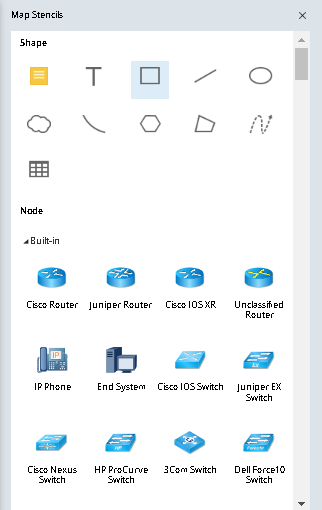
- View the Map Stencils pane, and it has two types of map stencils:
- Shape — a variety of geometries including text, links, and tables.
- Node — device icons for each device type.

|
Note: To draw a link between two elements (e.g.: Device, LAN, Cloud, Note etc.,) use the Line Stencil and manually draw a line between two devices. The Connecting link will appear as a line between two elements. |

- Built-in — the built-in icons provided by NetBrain.
-
Customized — you can upload icons based on your needs. By default, there is no icon in this category.
- Select a shape and draw it on the Map, or drag a device icon to your Map.
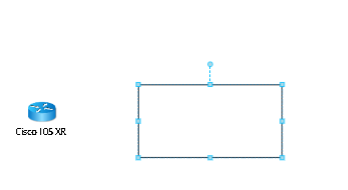
Example 1: Draw a rectangular shape on the Map.
-
Select the rectangular shape from the Map Stencils pane.
-
Hold and drag your mouse on the Map to draw the rectangular shape, and then release your mouse when the rectangular shape of desired size is drawn.
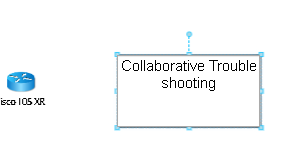
-
Click the rectangular shape to enter texts in the rectangular area.
-
Adjust the map stencil.
- For a shape, you can click to change its size or double-click it to input texts.
- For device icons, point to the device type (for example, Cisco Router0) and then click the icon to edit the device name.
Example 2: Draw a Table on the map.
The table stencil has more functionalities listed as follows:
-
Upon choosing the Table from Stencils menu, adjust the numbers for columns/rows in the popped-up window Insert Table and click OK to add table on the map.

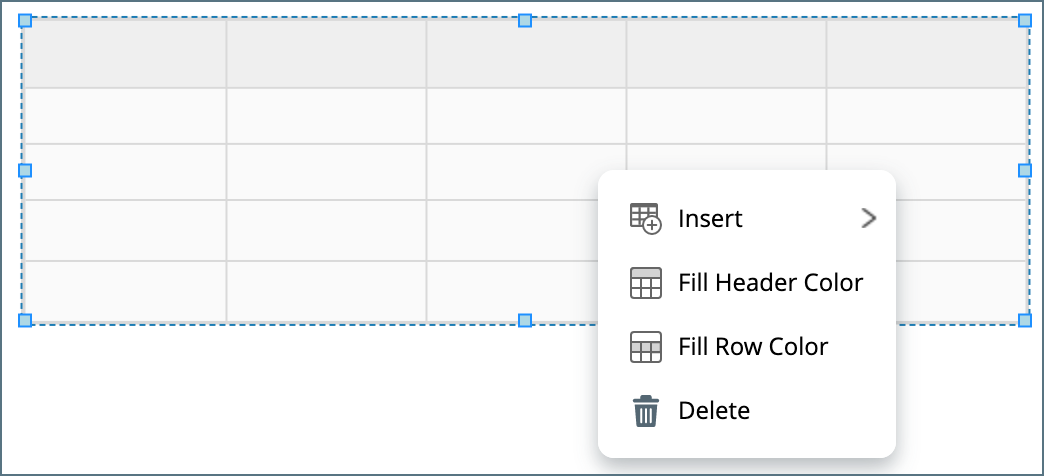
- The following functionalities are available in the Table right click menu.
- Insert
- Fill Header Color
- Fill Row Color
-
Delete
-
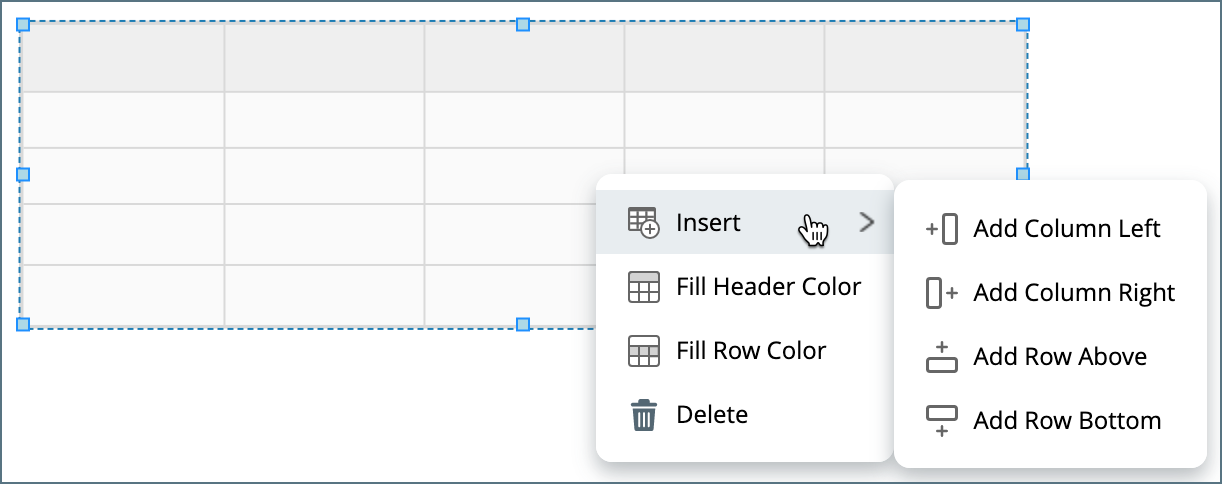
Insert: Addition of Rows and Column options appear further when hovering the mouse.
-
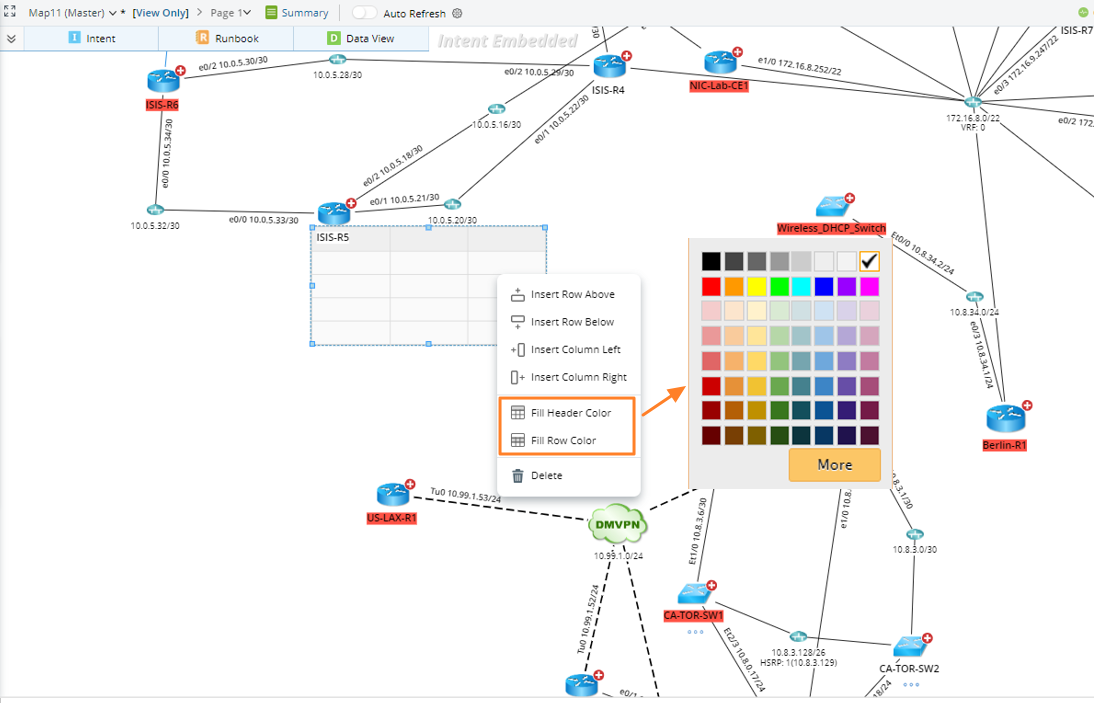
Fill Header Color and Fill Row Color: Select any of the two options and a color palette will appear on screen, choose the color to fill the cells.
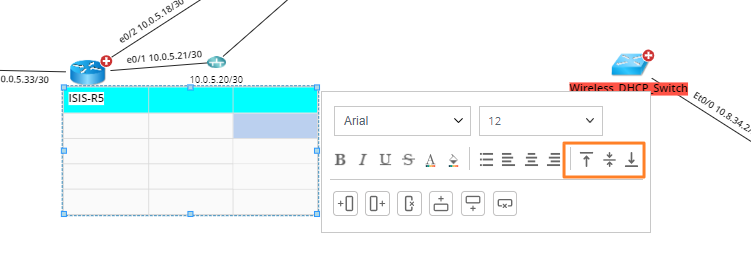
- Table cell right-click menu: Double click on a cell to open the editing mode and right-click to view cell properties menu:
-
Insert or Delete a Column or Row.
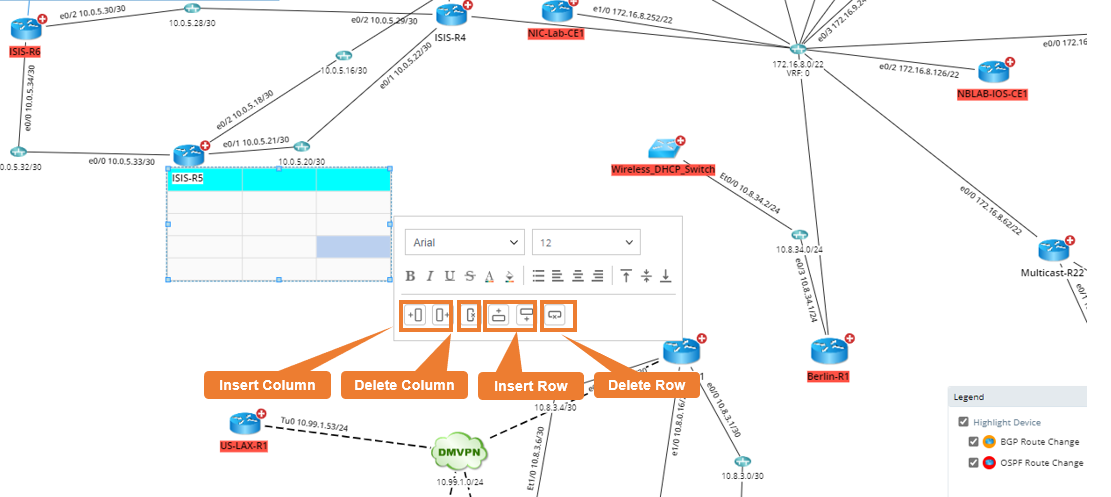
-
Modify Color to the cell background: Click on the icon to open the color palette.
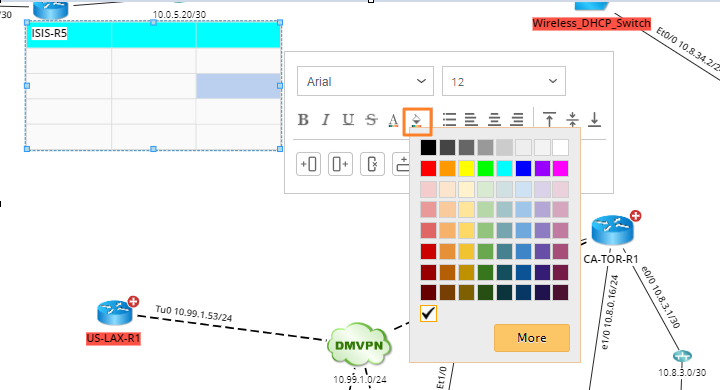
-
Adjust vertical alignment of the text in the cell: Top, Middle, Bottom
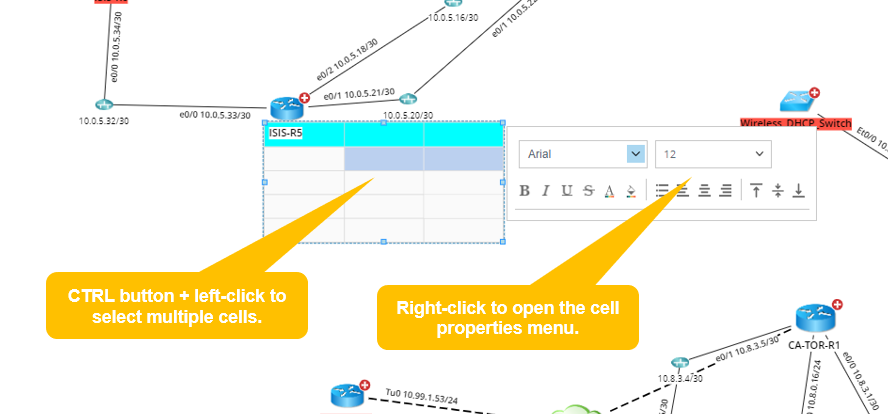
- You can modify the multiple cells in batch:
- Select multiple cells using the Ctrl button.
-
Right click and open the menu to modify the cell properties such font, color, alignment, and other properties.
See also: